Ikea and Leroy assembly instructions with Bocklip fronts
Vous vous souvenez du sketch de Gad Elmaleh sur le montage d’un meuble IKEA ? On a voulu éviter de vous plonger dans un labyrinthe de complexité à la suédoise.
To make sure everything goes like clockwork, here are a few tips for assembling your Bocklip furniture with Ikea or Leroy Merlin.
Ikea leaflets
Pour monter les caissons Ikea, rien de plus simple, notre conseil suivre pas à pas les notices fournis pour chaque caisson et charnières par IKEA que vous retrouvez ici ?
Notices for Metod
Leaflets for Pax
Here you'll find all the instructions for assembling your Pax dressing units.
Besta mounting instructions
Godmorgon assembly instructions
For the Godmorgon cabinet, assemble the carcase with the sides and fit the Bocklip fronts instead of the IKEA fronts. For both straight and curved Bocklip sides, place them over the sides of the Godmorgon cabinet.
Installing our fronts couldn't be simpler: just proceed as you would with an IKEA front. In place of the IKEA door, install your Bocklip door.
Leroy Merlin assembly instructions
Leaflets for Delinia ID
Find here all the assembly instructions for Leroy Merlin kitchen pedestals from the Delinia ID range.
Evo'M assembly instructions
Retrouver ici les notices de montage pour les caissons Evo’M et les charnières. ?
Remix assembly instructions
For the Leroy Merlin Remix bathroom cabinet, assemble the cabinet(s) and replace the Leroy Merlin drawer fronts with Bocklip fronts. And add the Bocklip sides to the Remix pedestal sides.
Installation instructions for Bocklip curved sides and baseboards
Vous y trouverez des instructions étape par étape pour une installation correcte et sécurisée.?
- Explanatory video on curved sides
- Explanatory video on curved baseboards
We strongly recommend that you watch these videos before starting the installation.
They will give you a clear, detailed view of the process.
How to install curved baseboards ?
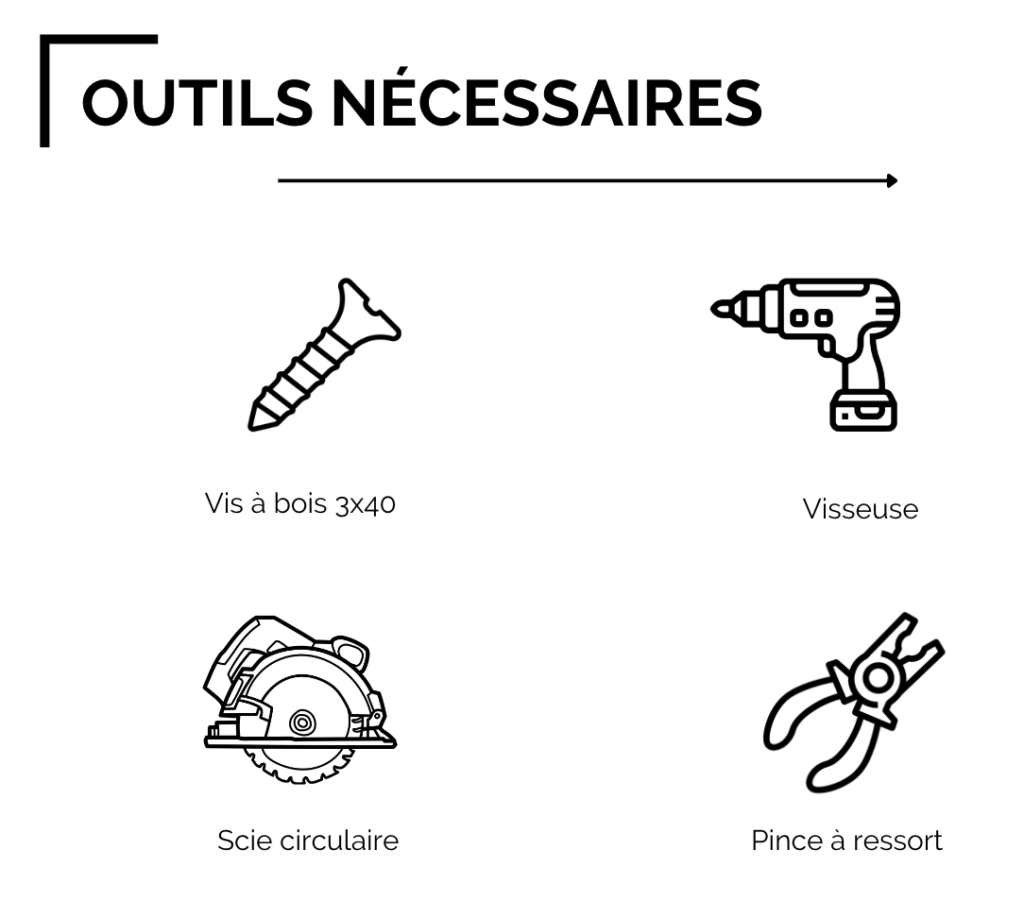
Tools and components required
For a successful installation, you will need :
+ Wood screws 3×40
+ A screwdriver
+ Spring clamp
+ A circular saw
The components of the baseboard are :
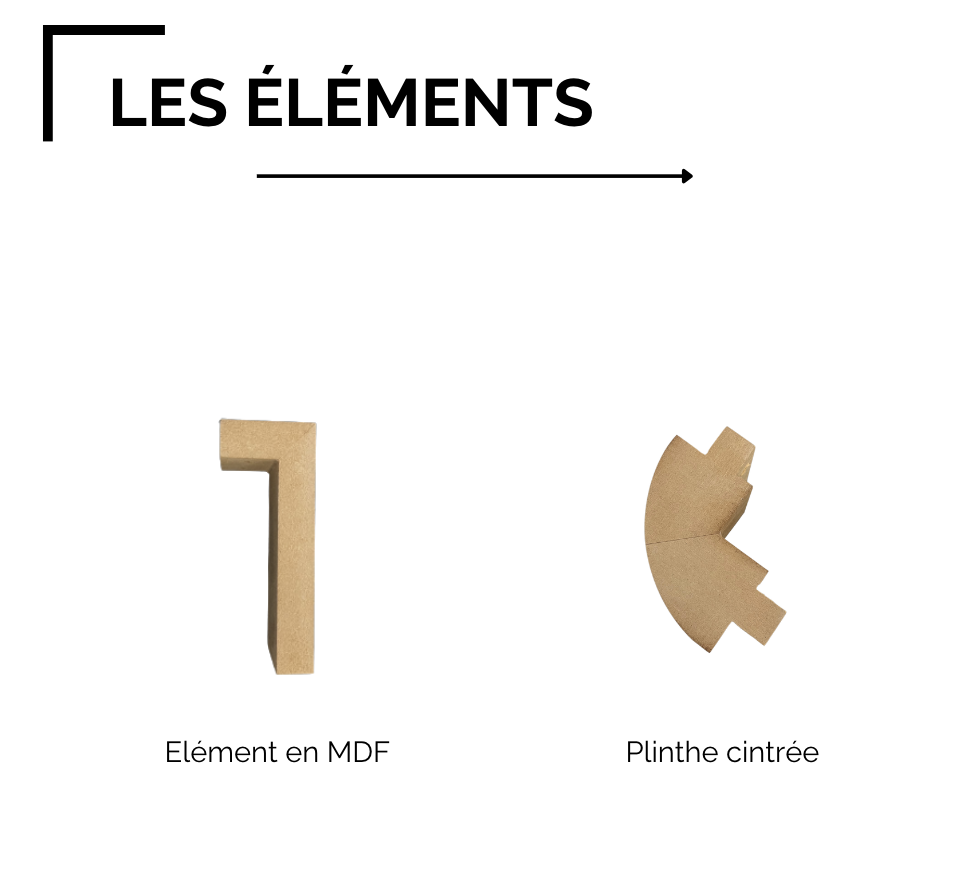
+ The MDF element
+ A curved baseboard connector
Installation steps
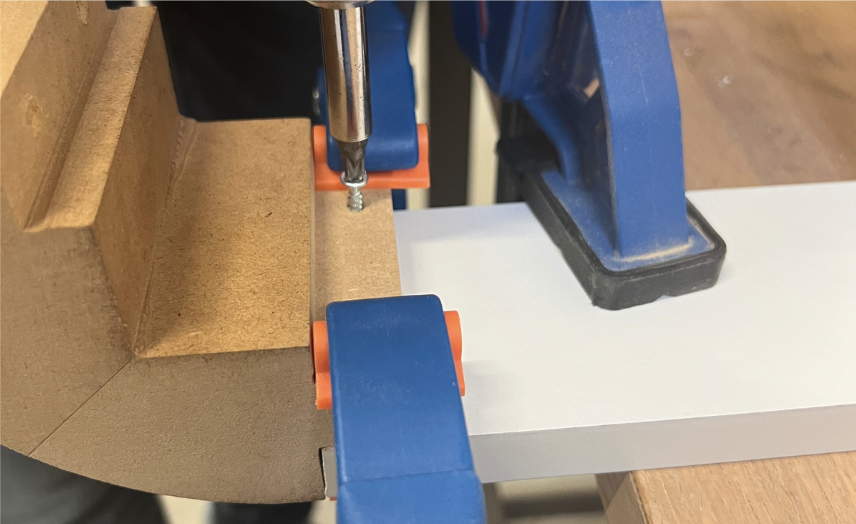
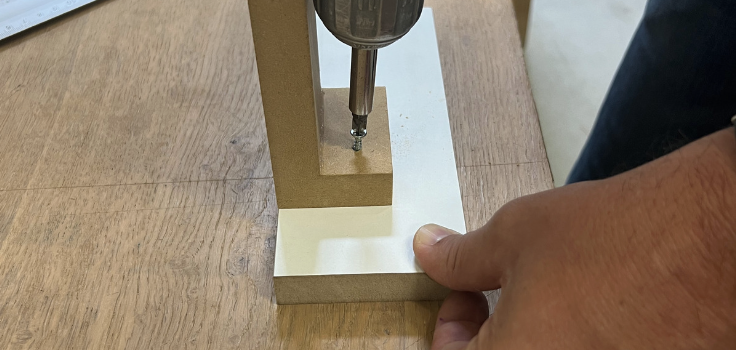
Step 1 - Assemble baseboard connectors
Take a straight MDF skirting board.
Place your curved baseboard connector at the end.
Be sure to secure the assembly with a spring clamp and screw.
Step 2 - Place the assembly under your cabinet
There are two investment options :
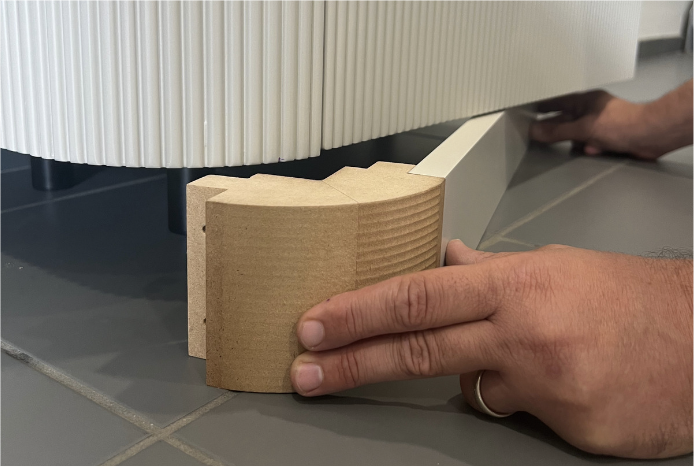
Option A : the easiest
Secure the curved baseboard to the legs of the IKEA cabinet.
Option B : the most difficult
Place the baseboard 5cm back from the front and side for a more balanced look.
TIPS : Use a cleat behind the baseboard to obtain the 5cm recess more easily.
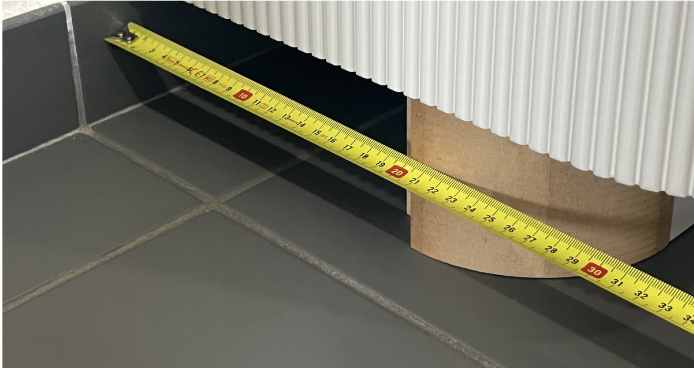
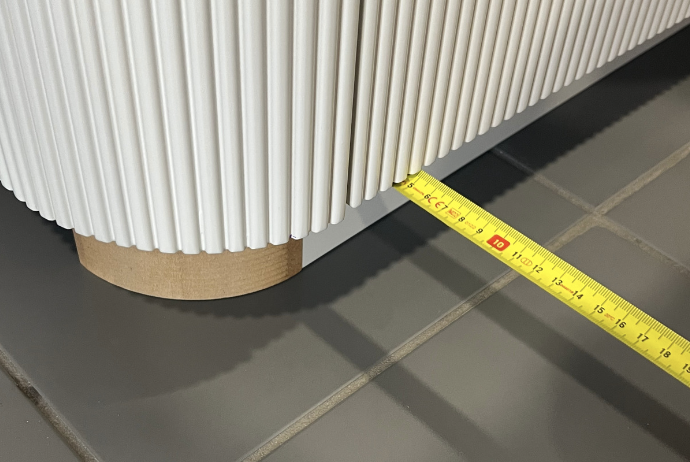
Step 3 - Measure and cut the baseboard return
Measure the distance between the baseboard connector and the wall.
Once the measurement has been taken, transfer it to your MDF element.
Cut with a circular saw.
TIPS : For a flawless finish, apply a piece of paint masking tape.
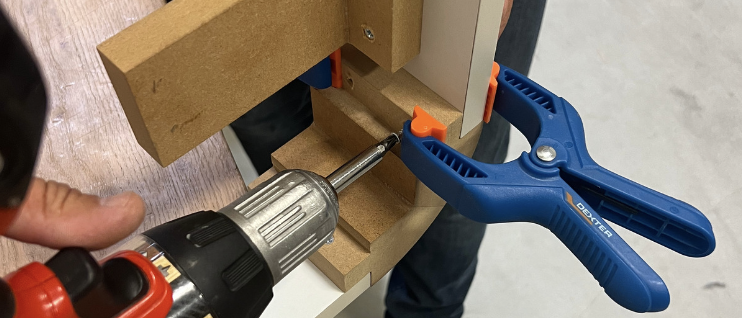
Step 4 - Assemble MDF element to baseboard return
Assemble your MDF cut-out to the baseboard return, taking care to position it so as not to interfere with the cabinet legs, then screw the assembly together.
Step 5 - Assemble components and screw baseboard to cabinet
Finally, assemble the components using spring-loaded pliers and screw them back together.
Place your curved baseboard under the cabinet and screw it to the inside of the cabinet.
Watch the video right here.
You now have all the information you need to install your curved baseboards successfully. Now all you have to do is put these valuable tips into action, so get started !
How to mount the curved sides ?
Find here our complete instructions for fitting curved sides for all sizes.