Our tips for designing your kitchen with the IKEA kitchen planner
Would you like to design or remodel your kitchen? After weeks of gleaning ideas and inspiration from your favorite decorating magazines, you've decided to take the plunge. Now you're faced with the blank page of theIKEA design toolIt's all up to you.
Discover our tips for successful kitchen design.
Getting started
Take stock of your needs and habits
Are you single ? Couple with or without children ? Large family ? Do you cook on an occasional basis ? Or do you love to entertain and spend hours preparing delicious meals while listening to jazz ? These aspects will guide your choices in terms of layout and equipment. The options are endless, so choose yours according to your daily needs.
Sizing the part
Taking the measurements of your room is an essential step in the success of your project. Floor space, wall dimensions and ceiling height are all dimensions you need to know precisely, to ensure that your kitchen is perfectly adapted to the layout of the room. Don't forget to add 3 to 5 cm between your furniture and the side walls: these gaps will be filled by 10cm wide Bocklip threaders to be cut into tongues.
Remember to mark the exact locations of water supplies, electrical outlets and gas supplies. Finally, note the dimensions and positions of openings (doors, windows...) and wall elements such as radiators and switches.
All this measuring will save you precious time and help you avoid layout errors. Your work with the IKEA design tool will be all the more efficient.
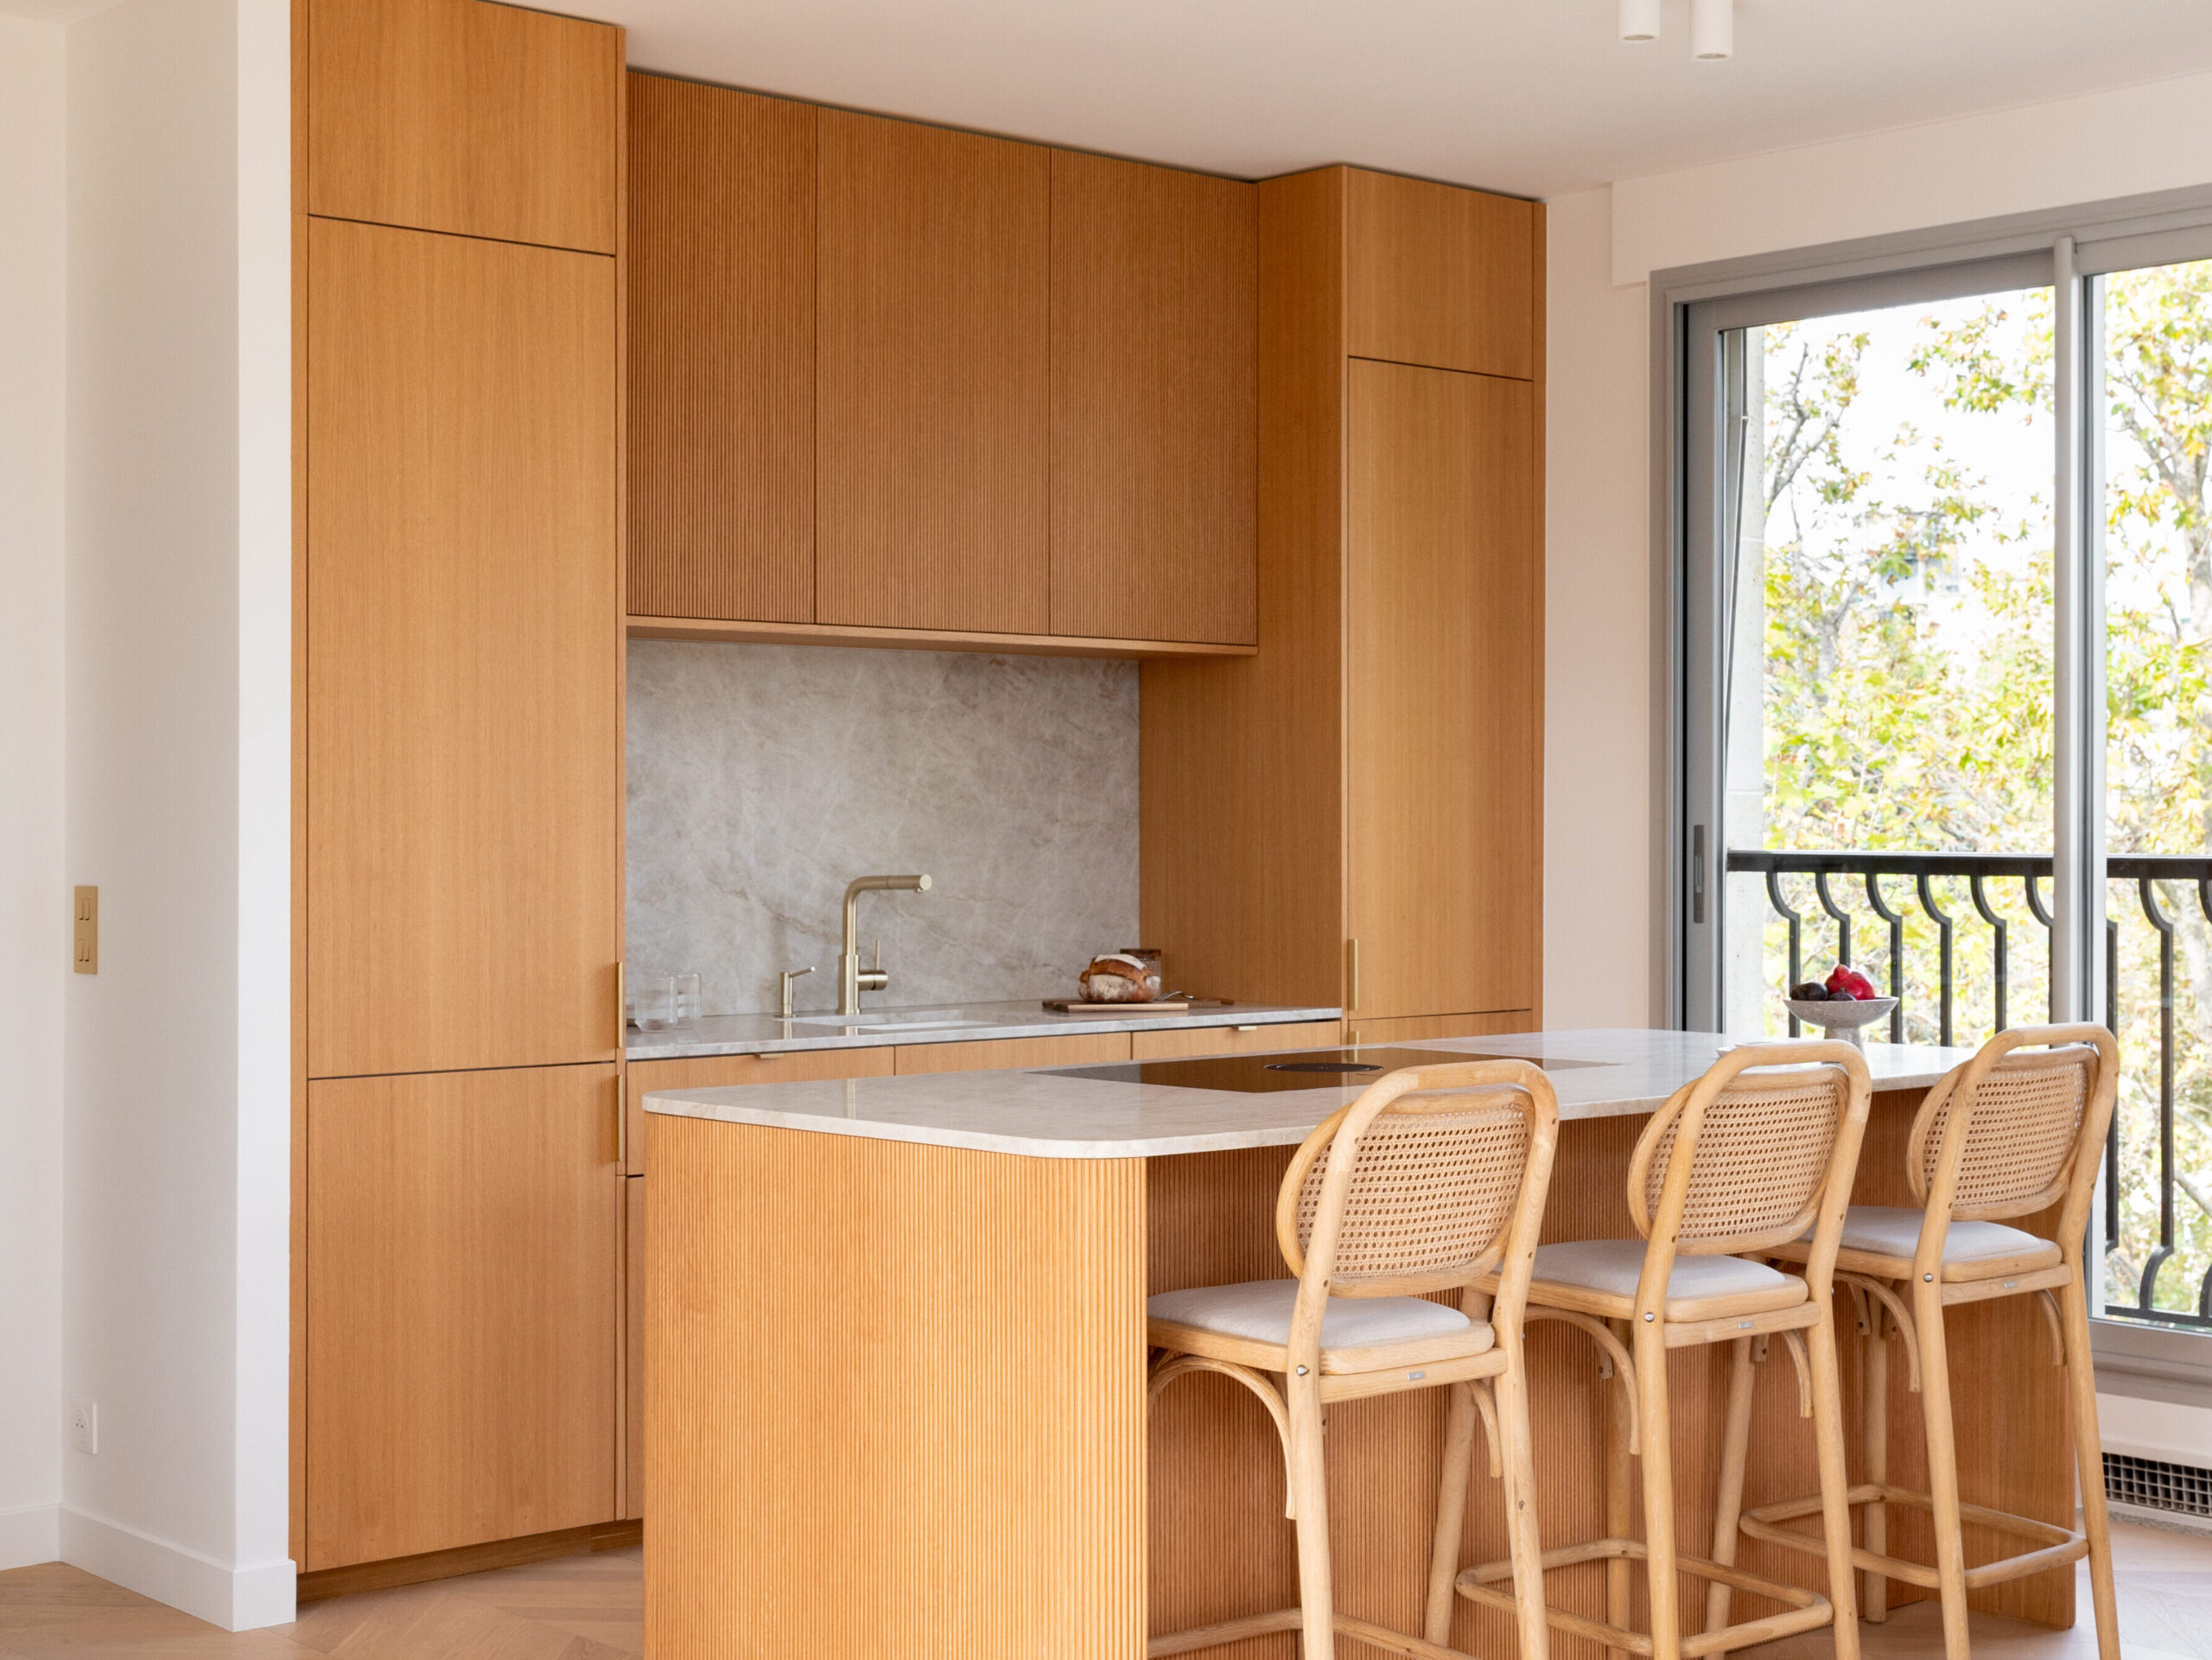
For successful design
It's hard to design a kitchen without standing in it. Fortunately, there are a few golden rules to help you avoid any faux pas.
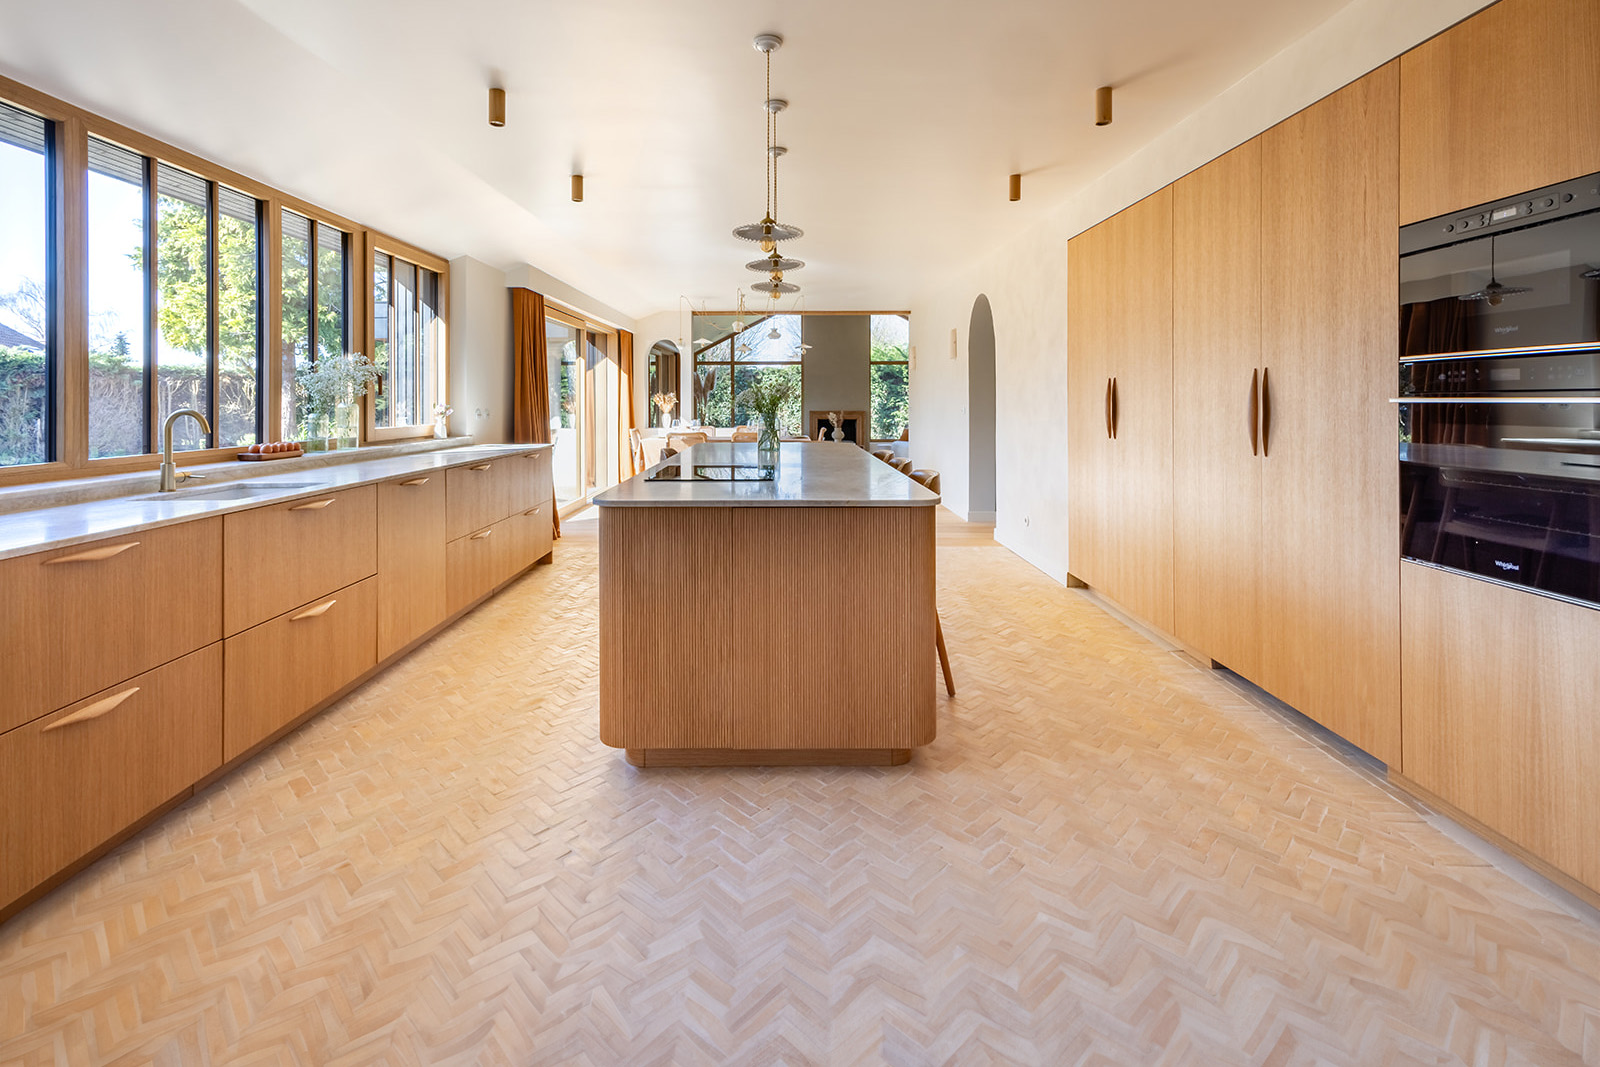
The activity triangle
This rule is one of the pillars of successful kitchen design. The idea is very simple: reduce the distances between the 3 most important areas of the kitchen as much as possible. The space is divided into 3 activity zones: cooking (oven, hob and worktop), washing (sink and dishwasher) and cooling (refrigerator). Dividing these 3 zones into a triangle will save you time and unnecessary travel.
Remove water from cooking
To position the first pieces of furniture, start with the sink, whose location is often obvious, since it's close to water inlets and outlets (if it's in front of a window, remember to allow it to open).
When placing the other elements, follow the golden triangle rule, bearing in mind that cooking should be away from water (it's obvious, but we prefer to repeat it). Avoid placing your hobs against a wall, and leave space around them for your utensils.
Space to move around
IKEA worktops are sold with a depth of 63.5cm. However, if you opt for a made-to-measure worktop, the minimum recommended size is 60 cm to accommodate large appliances such as the oven or dishwasher.
And don't forget one of the most important elements of your kitchen: you! To make moving around easier, leave at least 70 cm of space in front of your cabinets. 90 cm will allow you to easily get around an open cupboard or dishwasher. And if you like to cook with a partner, 120 cm will allow you to move around together without getting in each other's way.
Aerate, ventilate, breathe !
Good ventilation is important in the kitchen. The extractor hood often determines the height between the worktop and the wall units. It should be installed between 65 and 85 cm above the cooktop - to prevent our giant friends from hitting their heads. For islands, we recommend top-mounted hoods. Be careful, however, to allow for air outlets and space for the recirculation unit.
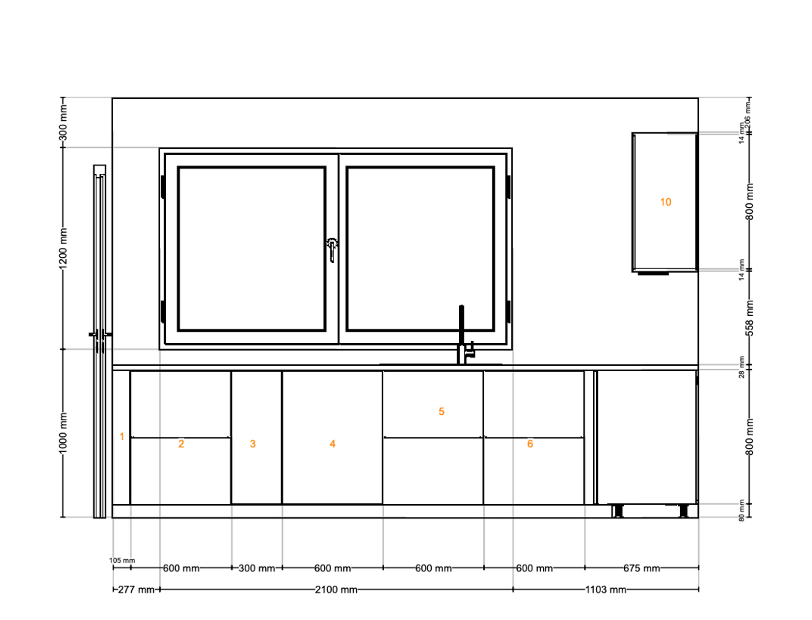
Measuring up
For base units, the worktop must be at waist height, so that you can reach the bottom of the sink without bending over. METOD pedestals allow a height of between 90 and 93 cm:
A METOD pedestal, 80 cm high
Legs + plinths, 8 cm high
A worktop thickness of between 2 cm and 3 cm.
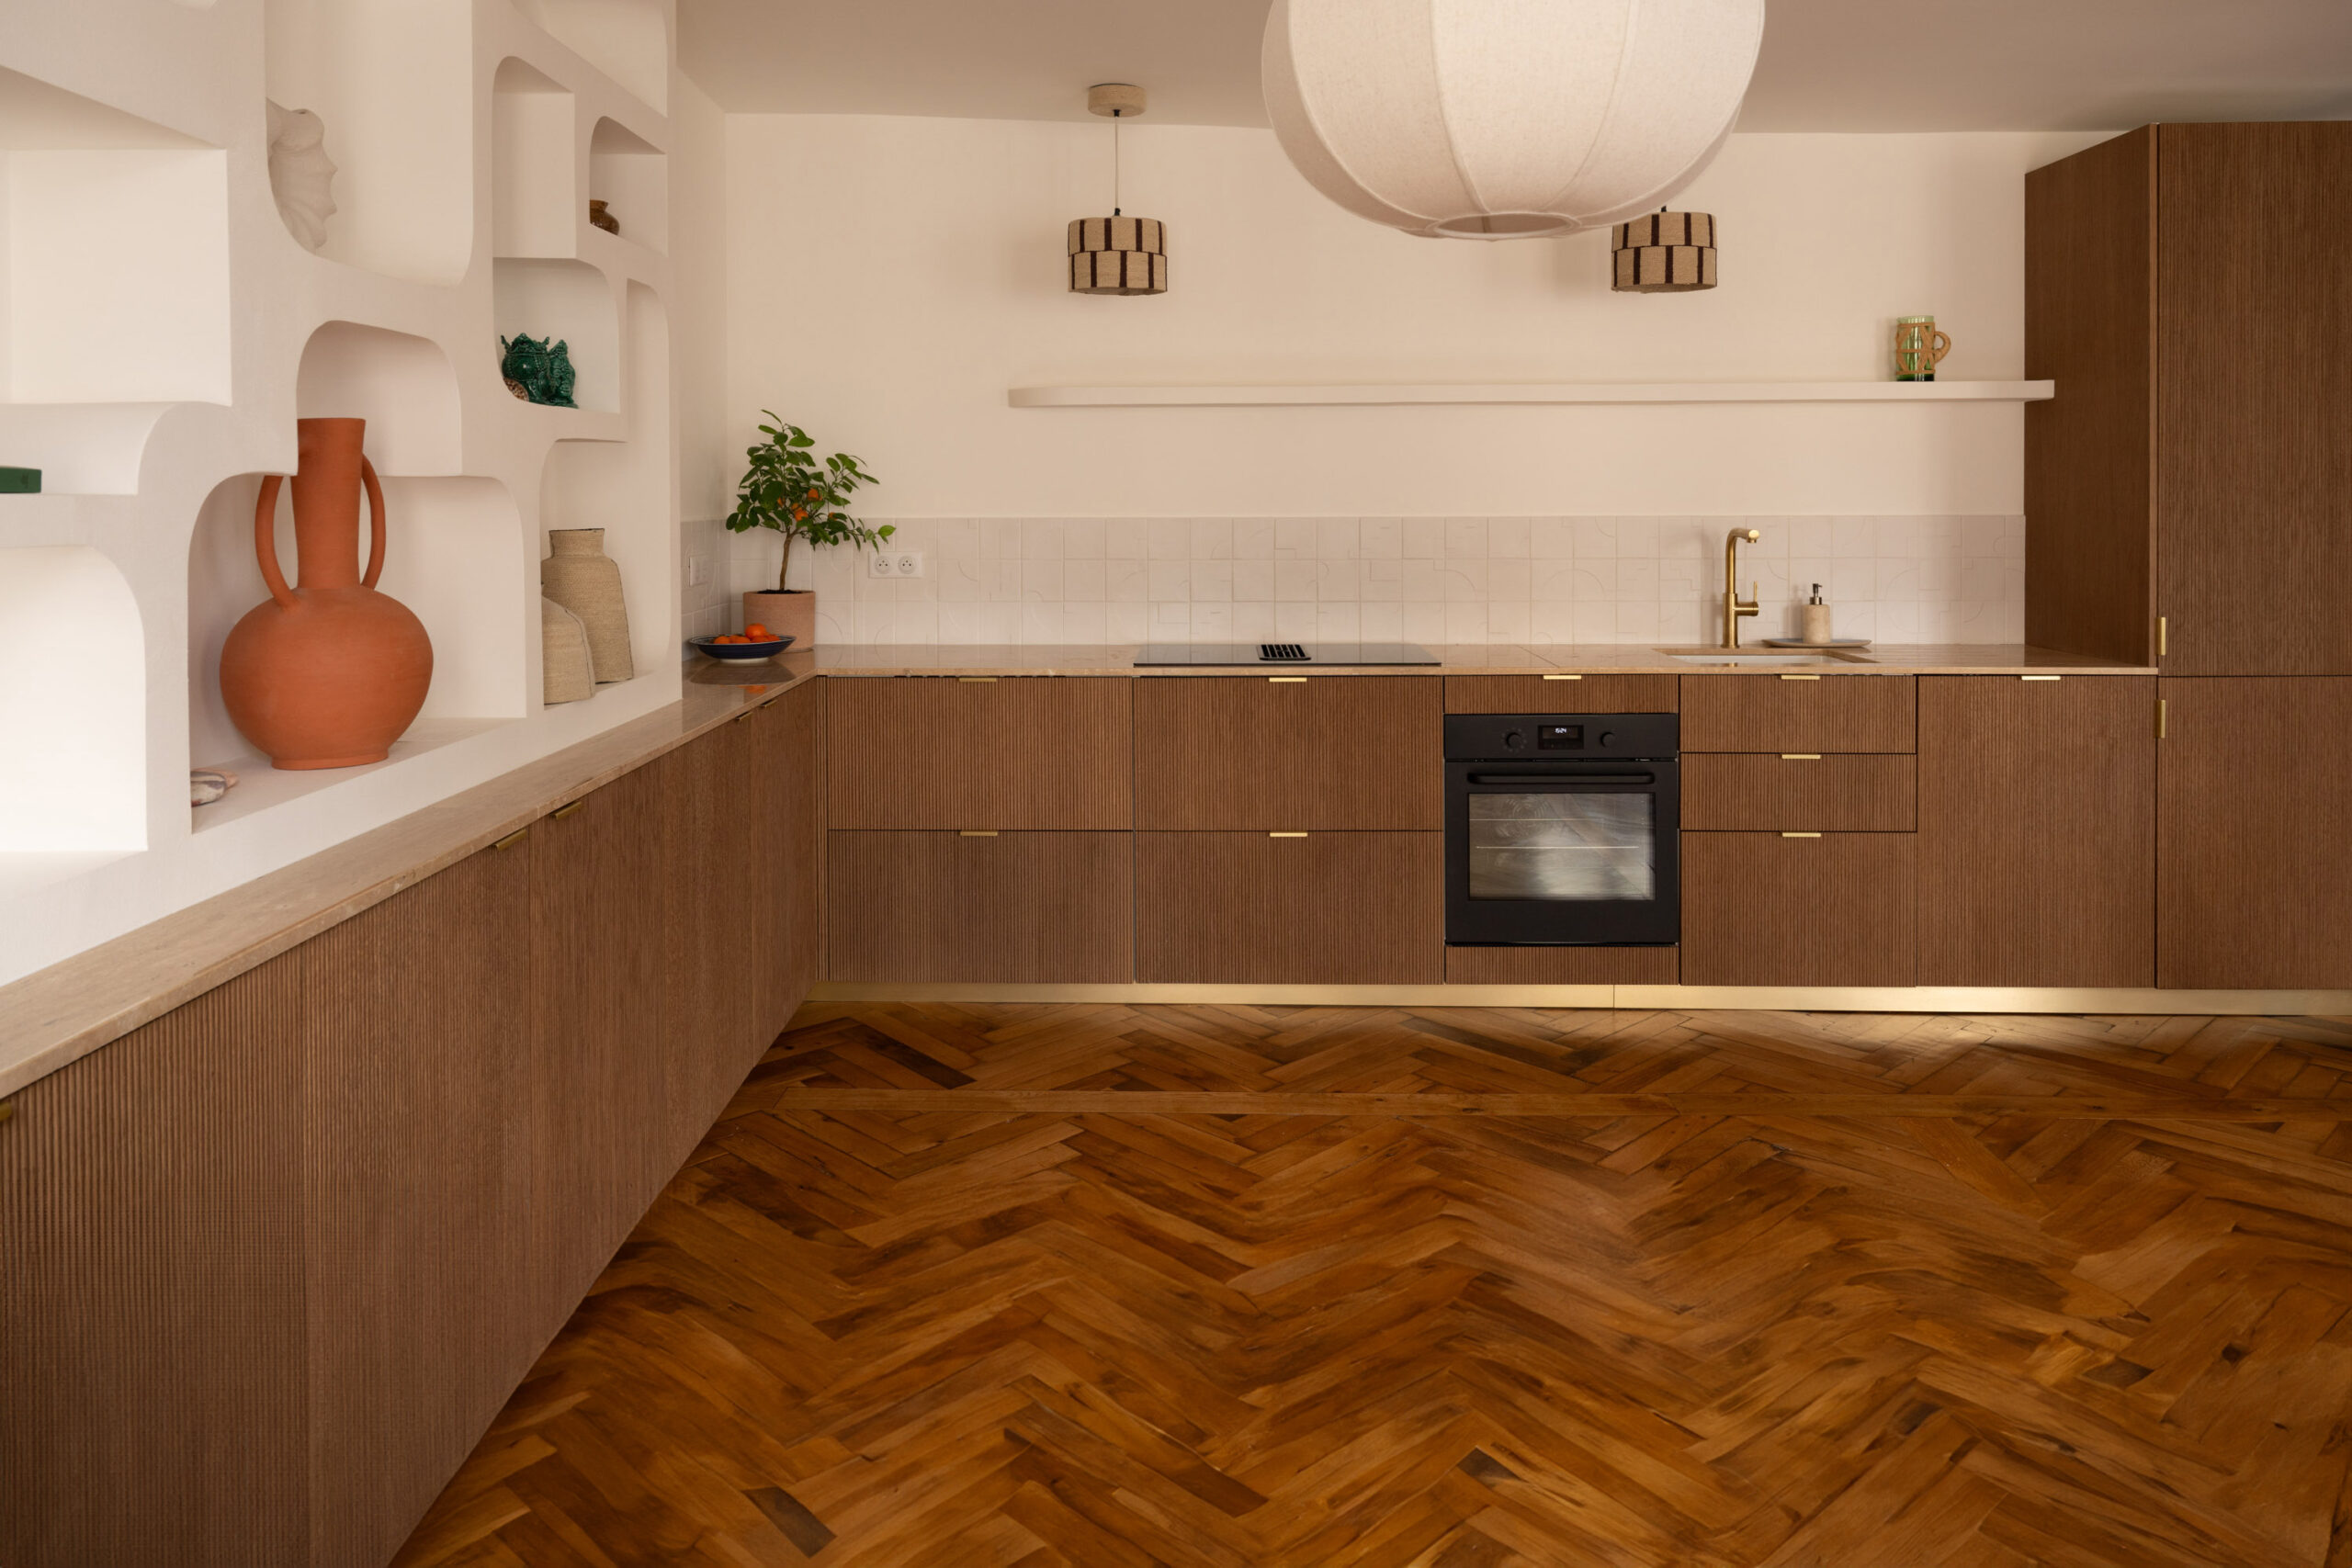
For the oven and microwave, always place the oven below the microwave. To stay within standards, the sum of the front heights of the oven + microwave must be 1m.
For successful customization
Now that your kitchen has been expertly designed to be ergonomic and practical, it's time to customize it with Bocklip. Here are a few points to check before validating your shopping list.
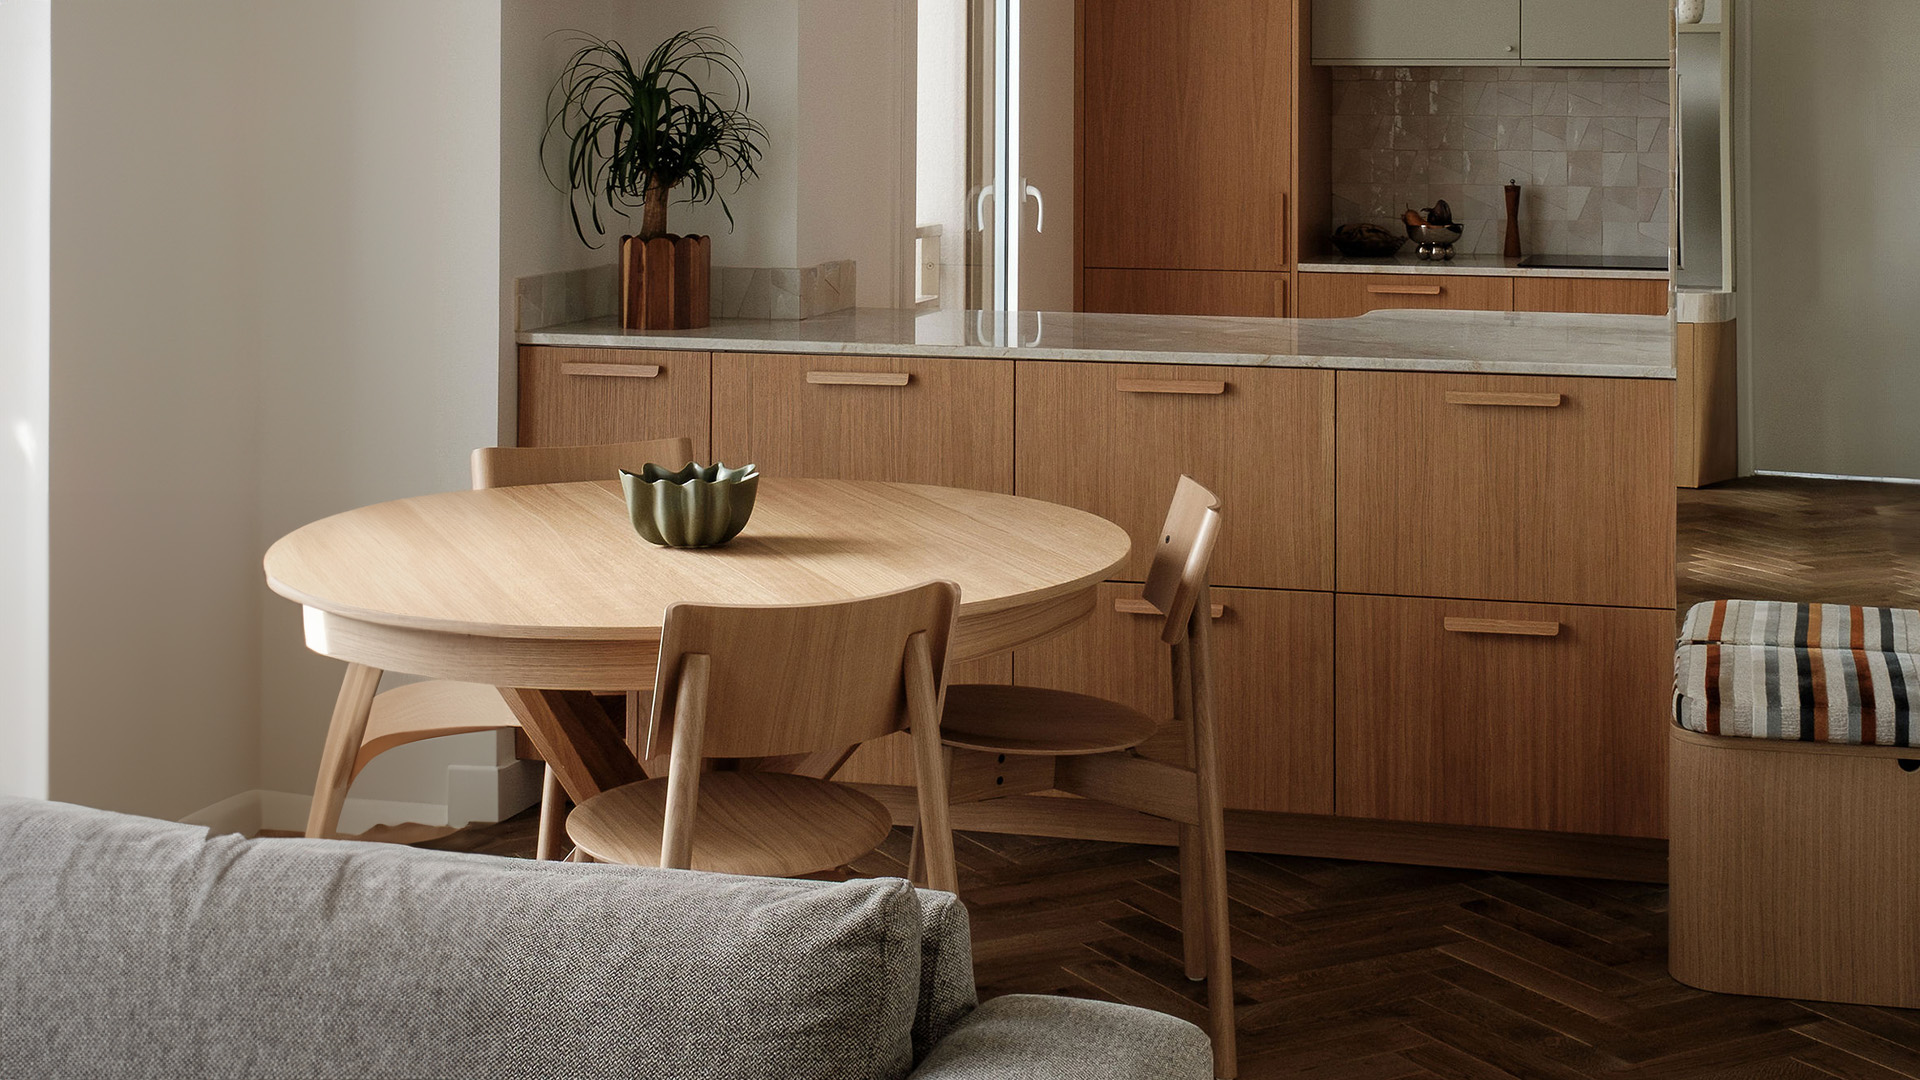
Coordinating colors
Our kitchen collection offers 6 shapes and 6 materials for infinite customization possibilities. Don't forget to coordinate colors. If you choose light-colored Bocklip fronts, buy white METOD pedestals; if you opt for dark-colored fronts, choose brown METOD pedestals.
Don't forget the hinges and feet
During the design phase with the IKEA kitchen planner, leave the fronts and skirting boards in place. This will give you a better idea of what your project will look like. Simply remove them from your shopping list at the last minute.
Please note, however, that this will also mean the removal of the Utrusta hinges and METOD feet you'll need to attach your favorite Bocklip fronts and skirting boards. Remember to put them back in your shopping basket before finalizing your purchases.
The finishing touch : threaders and finishing panels
You're almost there, your IKEA order is on its way and your Bocklip order is just two clicks away from completion. Don't forget the threaders and finishing panels, indispensable elements for dressing up the spaces and sides of your furniture, for a perfectly harmonious final result !
If you'd like us to help you create your Kitchen Planner, don't hesitate to book a Design Help appointment. This service will be reimbursed when you order your fronts.
Good to know: you're not alone !
Before making your purchase, have your plan validated by an IKEA consultant. When it's time to customize, don't hesitate to ask one of our experts to make sure you don't forget anything. And when it comes to installation, IKEA has thought of everything with this step-by-step procedure.