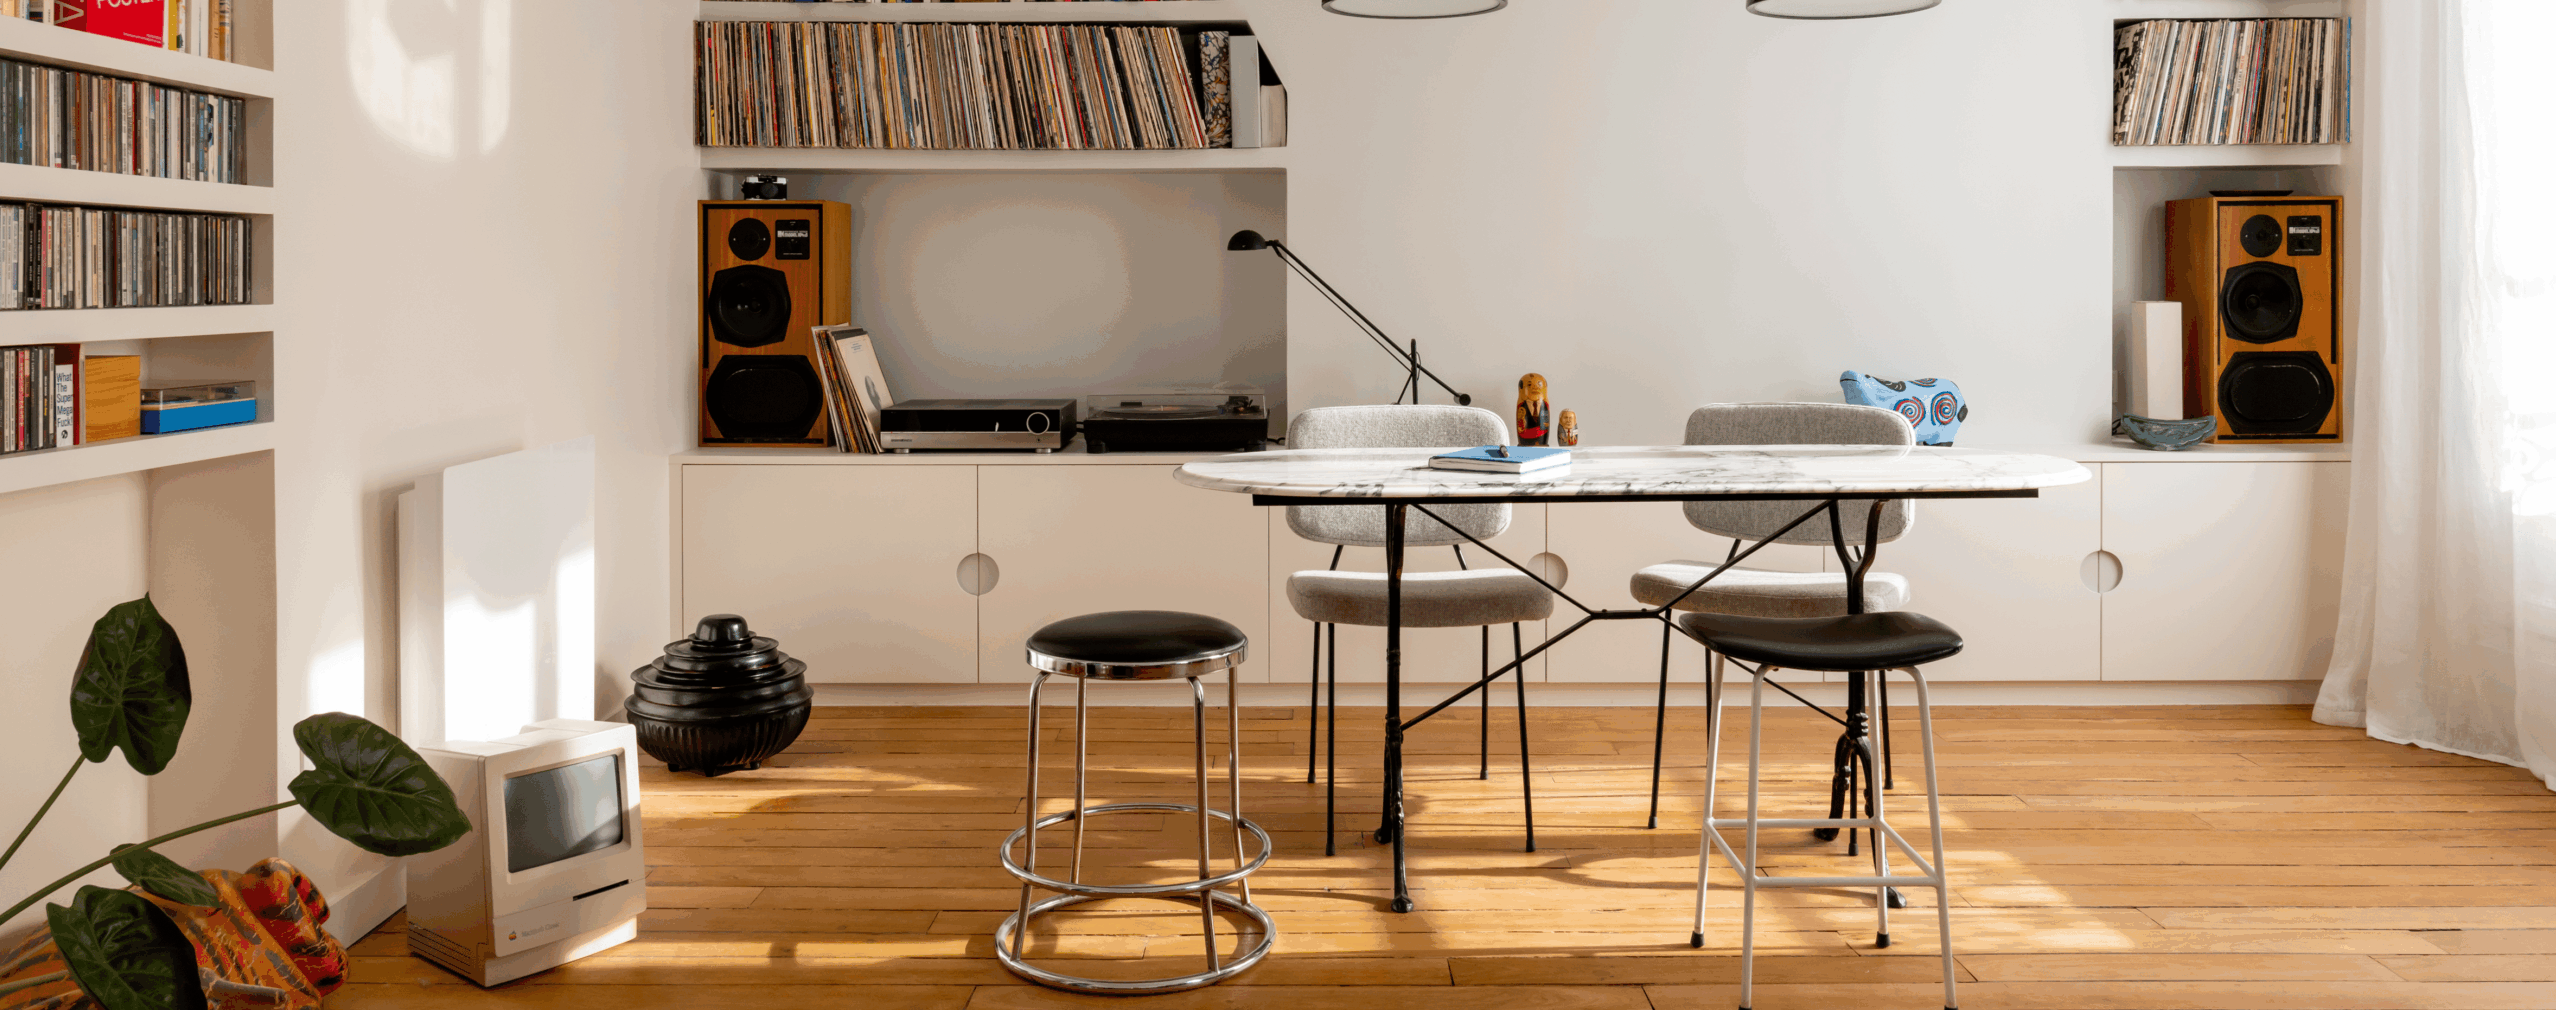
How to install curved baseboards with ease ?
Remember Gad Elmaleh's sketch about assembling a piece of IKEA furniture ? We didn't want to plunge you into a labyrinth of Swedish complexity.
Pour que tout se passe comme sur des roulettes, nous avons concocté des vidéos explicatives. Plus facile à suivre qu’un mode d’emploi écrit en hiéroglyphes, promis ?.
Vous y trouverez des instructions étape par étape pour une installation correcte et sécurisée.?
- Explanatory video on curved sides
- Explanatory video on curved baseboards
We strongly recommend that you watch these videos before starting the installation.
They will give you a clear, detailed view of the process.
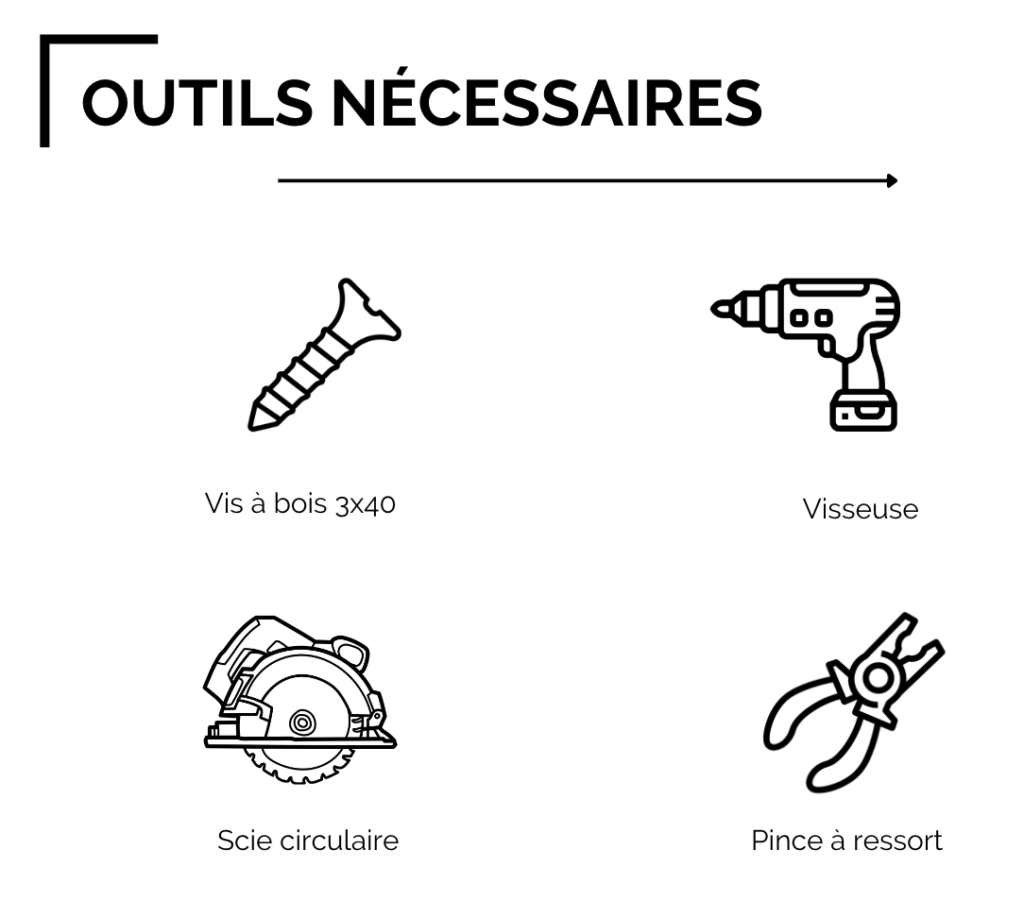
Tools and components required
For a successful installation, you will need :
+ Wood screws 3×40
+ A screwdriver
+ Spring clamp
+ A circular saw
The components of the baseboard are :
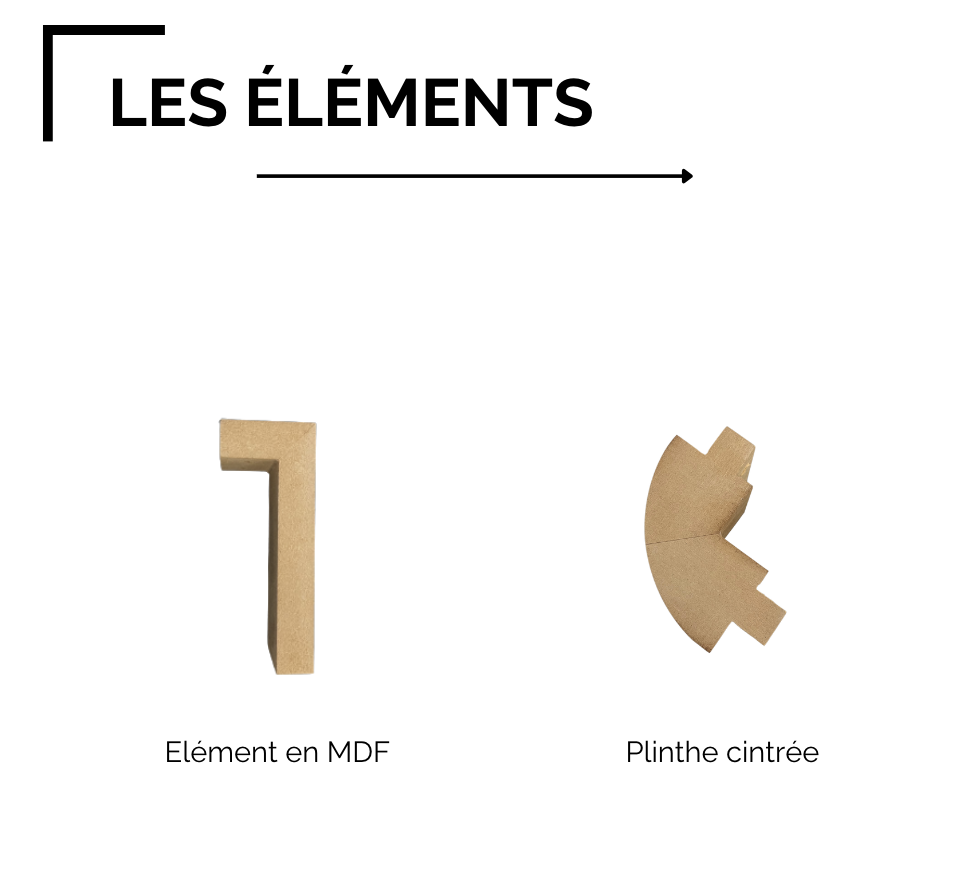
+ The MDF element
+ A curved baseboard connector
Installation steps
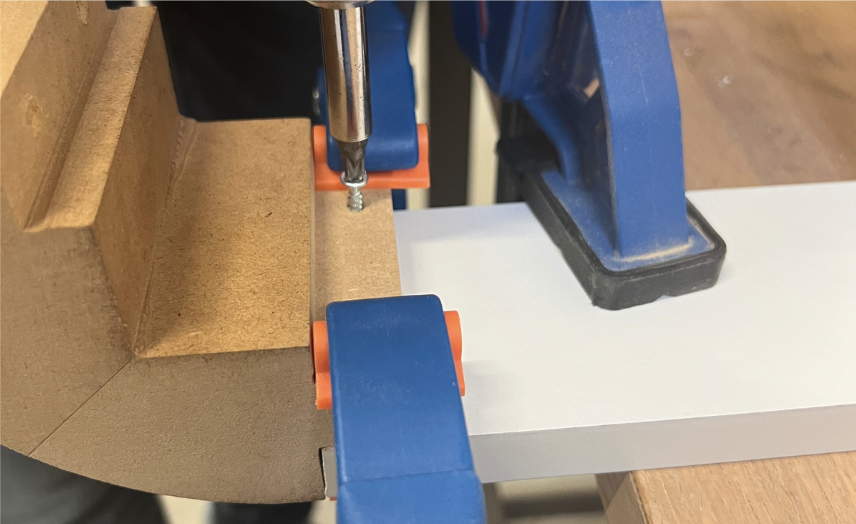
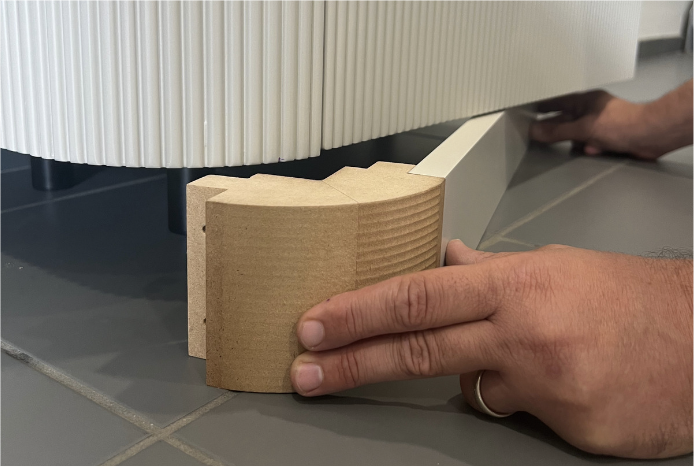
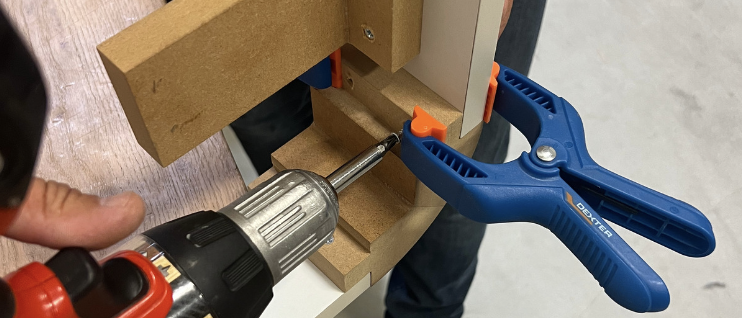
Step 1 - Assemble baseboard connectors
Take a straight MDF skirting board.
Place your curved baseboard connector at the end.
Be sure to secure the assembly with a spring clamp and screw.
Step 2 - Place the assembly under your cabinet
There are two investment options :
Option A : the easiest
Secure the curved baseboard to the legs of the IKEA cabinet.
Option B : the most difficult
Place the baseboard 5cm back from the front and side for a more balanced look.
TIPS : Use a cleat behind the baseboard to obtain the 5cm recess more easily.
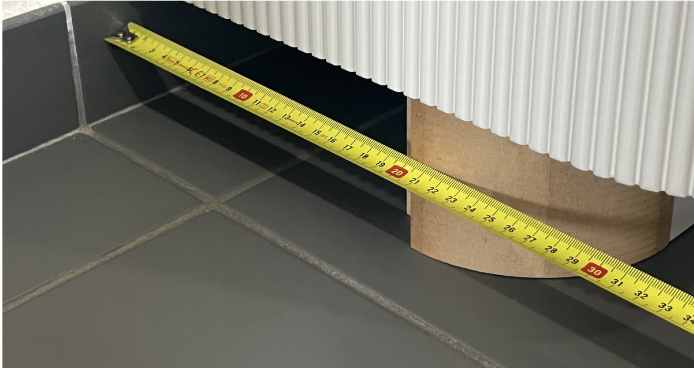
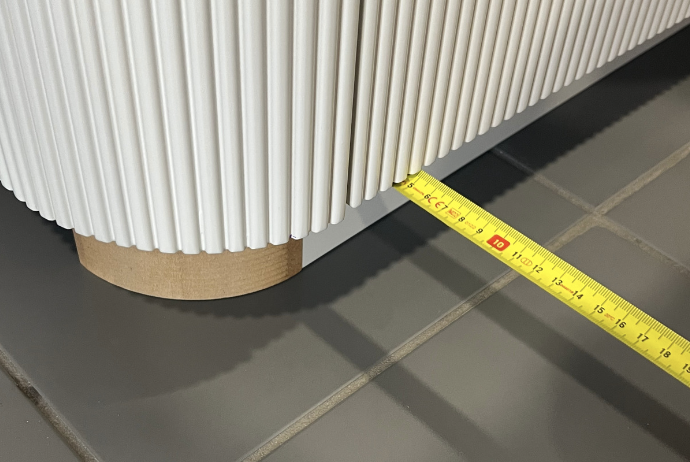
Step 3 - Measure and cut the baseboard return
Measure the distance between the baseboard connector and the wall.
Once the measurement has been taken, transfer it to your MDF element.
Cut with a circular saw.
TIPS : For a flawless finish, apply a piece of paint masking tape.
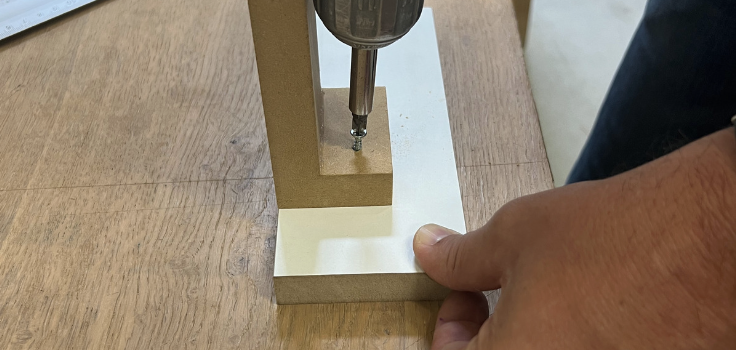
Step 4 - Assemble MDF element to baseboard return
Assemble your MDF cut-out to the baseboard return, taking care to position it so as not to interfere with the cabinet legs, then screw the assembly together.
Step 5 - Assemble components and screw baseboard to cabinet
Finally, assemble the components using spring-loaded pliers and screw them back together.
Place your curved baseboard under the cabinet and screw it to the inside of the cabinet.
Watch the video right here.
You now have all the information you need to install your curved baseboards successfully. Now all you have to do is put these valuable tips into action, so get started !