Conception cuisine IKEA : votre projet sur-mesure avec Bocklip
Concevoir une cuisine IKEA peut sembler simple, mais tirer le meilleur parti de l’espace, du mobilier et de la modularité demande méthode et anticipation. Grâce au Kitchen Planner IKEA, la conception de votre cuisine IKEA devient plus claire et visuelle. Dans cet article, nous vous guidons pas à pas pour utiliser cet outil efficacement ou vous faire aider et réussir la conception d’une cuisine IKEA à la fois fonctionnelle et esthétique.
Une solution simple et efficace pour concevoir votre cuisine IKEA
Vous souhaitez créer une cuisine IKEA personnalisée, mais vous manquez de temps ou d’expertise pour tout concevoir vous-même ? Bonne nouvelle : chez Bocklip, nous proposons un service de conception cuisine IKEA qui simplifie toutes les étapes, du plan initial jusqu’à la validation de votre projet.
Si vous avez déjà les dimensions de votre pièce, nos experts peuvent concevoir pour vous une implantation complète à partir des caissons IKEA (notamment la gamme METOD), en tenant compte de vos besoins, de vos habitudes, et de l’esthétique que vous recherchez.
IKEA cuisine conception : deux approches possibles
Nous vous proposons deux façons de démarrer votre projet de cuisine IKEA conception :
1. Vous souhaitez vous faire aider :
Dans ce cas, vous pouvez directement faire appel à notre service de conception.
Nous vous aidons à concevoir l’implantation de votre future cuisine à partir des caissons IKEA, tout en intégrant nos façades, plans de travail et finitions personnalisées. Pour prendre RDV c’est ici.
2. Vous souhaitez commencer par vous-même:
IKEA propose un outil très pratique, le IKEA Kitchen Planner, qui permet de modéliser votre cuisine et de générer une liste d’achats détaillée.
Pourquoi utiliser le service de conception IKEA de Bocklip ?
Notre service est conçu pour vous faire gagner du temps tout en garantissant un résultat sur-mesure et harmonieux. Voici ce qui fait notre différence :
- Une expertise poussée des modules IKEA METOD
- Une connaissance précise des contraintes techniques (plomberie, électroménager, ouvertures…)
- Une intégration fluide de nos façades design et matériaux haut de gamme
- Des conseils sur les choix esthétiques, les finitions, et la circulation dans l’espace.
En choisissant notre accompagnement, vous évitez les erreurs courantes, vous optimisez l’espace disponible, et vous gagnez en cohérence esthétique.
IKEA conception cuisine : comment ça fonctionne ?
Le service de conception IKEA cuisine se déroule en plusieurs étapes :
- Suivi et accompagnement jusqu’à la validation définitive du projet.
- Prise de contact et transmission des informations (dimensions, plan, souhaits esthétiques)
- Rendez-vous de conception en visio avec l’un de nos experts
- Liste précise des éléments à acheter chez IKEA, et de ceux que nous fournissons.
IKEA kitchen planner : un outil complémentaire à notre expertise
Le Kitchen Planner IKEA est un outil gratuit et en ligne qui permet de concevoir votre cuisine selon vos dimensions, vos envies et votre budget. Il vous aide à visualiser le résultat final avant tout achat. Pour une conception cuisine IKEA réussie, commencez par prendre précisément les mesures de la pièce. Ensuite, vous pourrez positionner les meubles, modifier les façades, tester les couleurs et ajouter des éléments comme les poignées ou les électroménagers. Cet outil est idéal pour explorer différentes options avant de passer commande ou de prendre rendez-vous avec un conseiller.
Une fois votre projet enregistré, vous pouvez nous l’envoyer. Nous utiliserons cette base pour corriger, optimiser et enrichir votre plan en fonction de vos besoins.
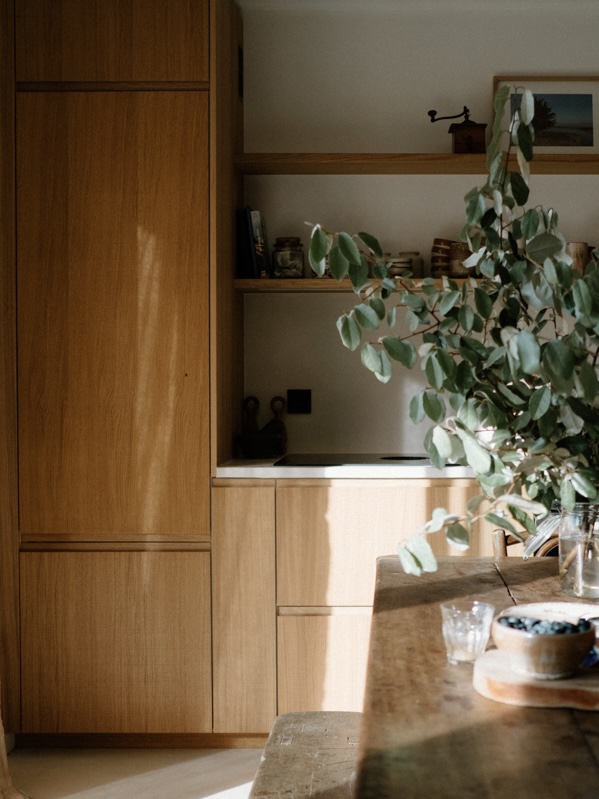
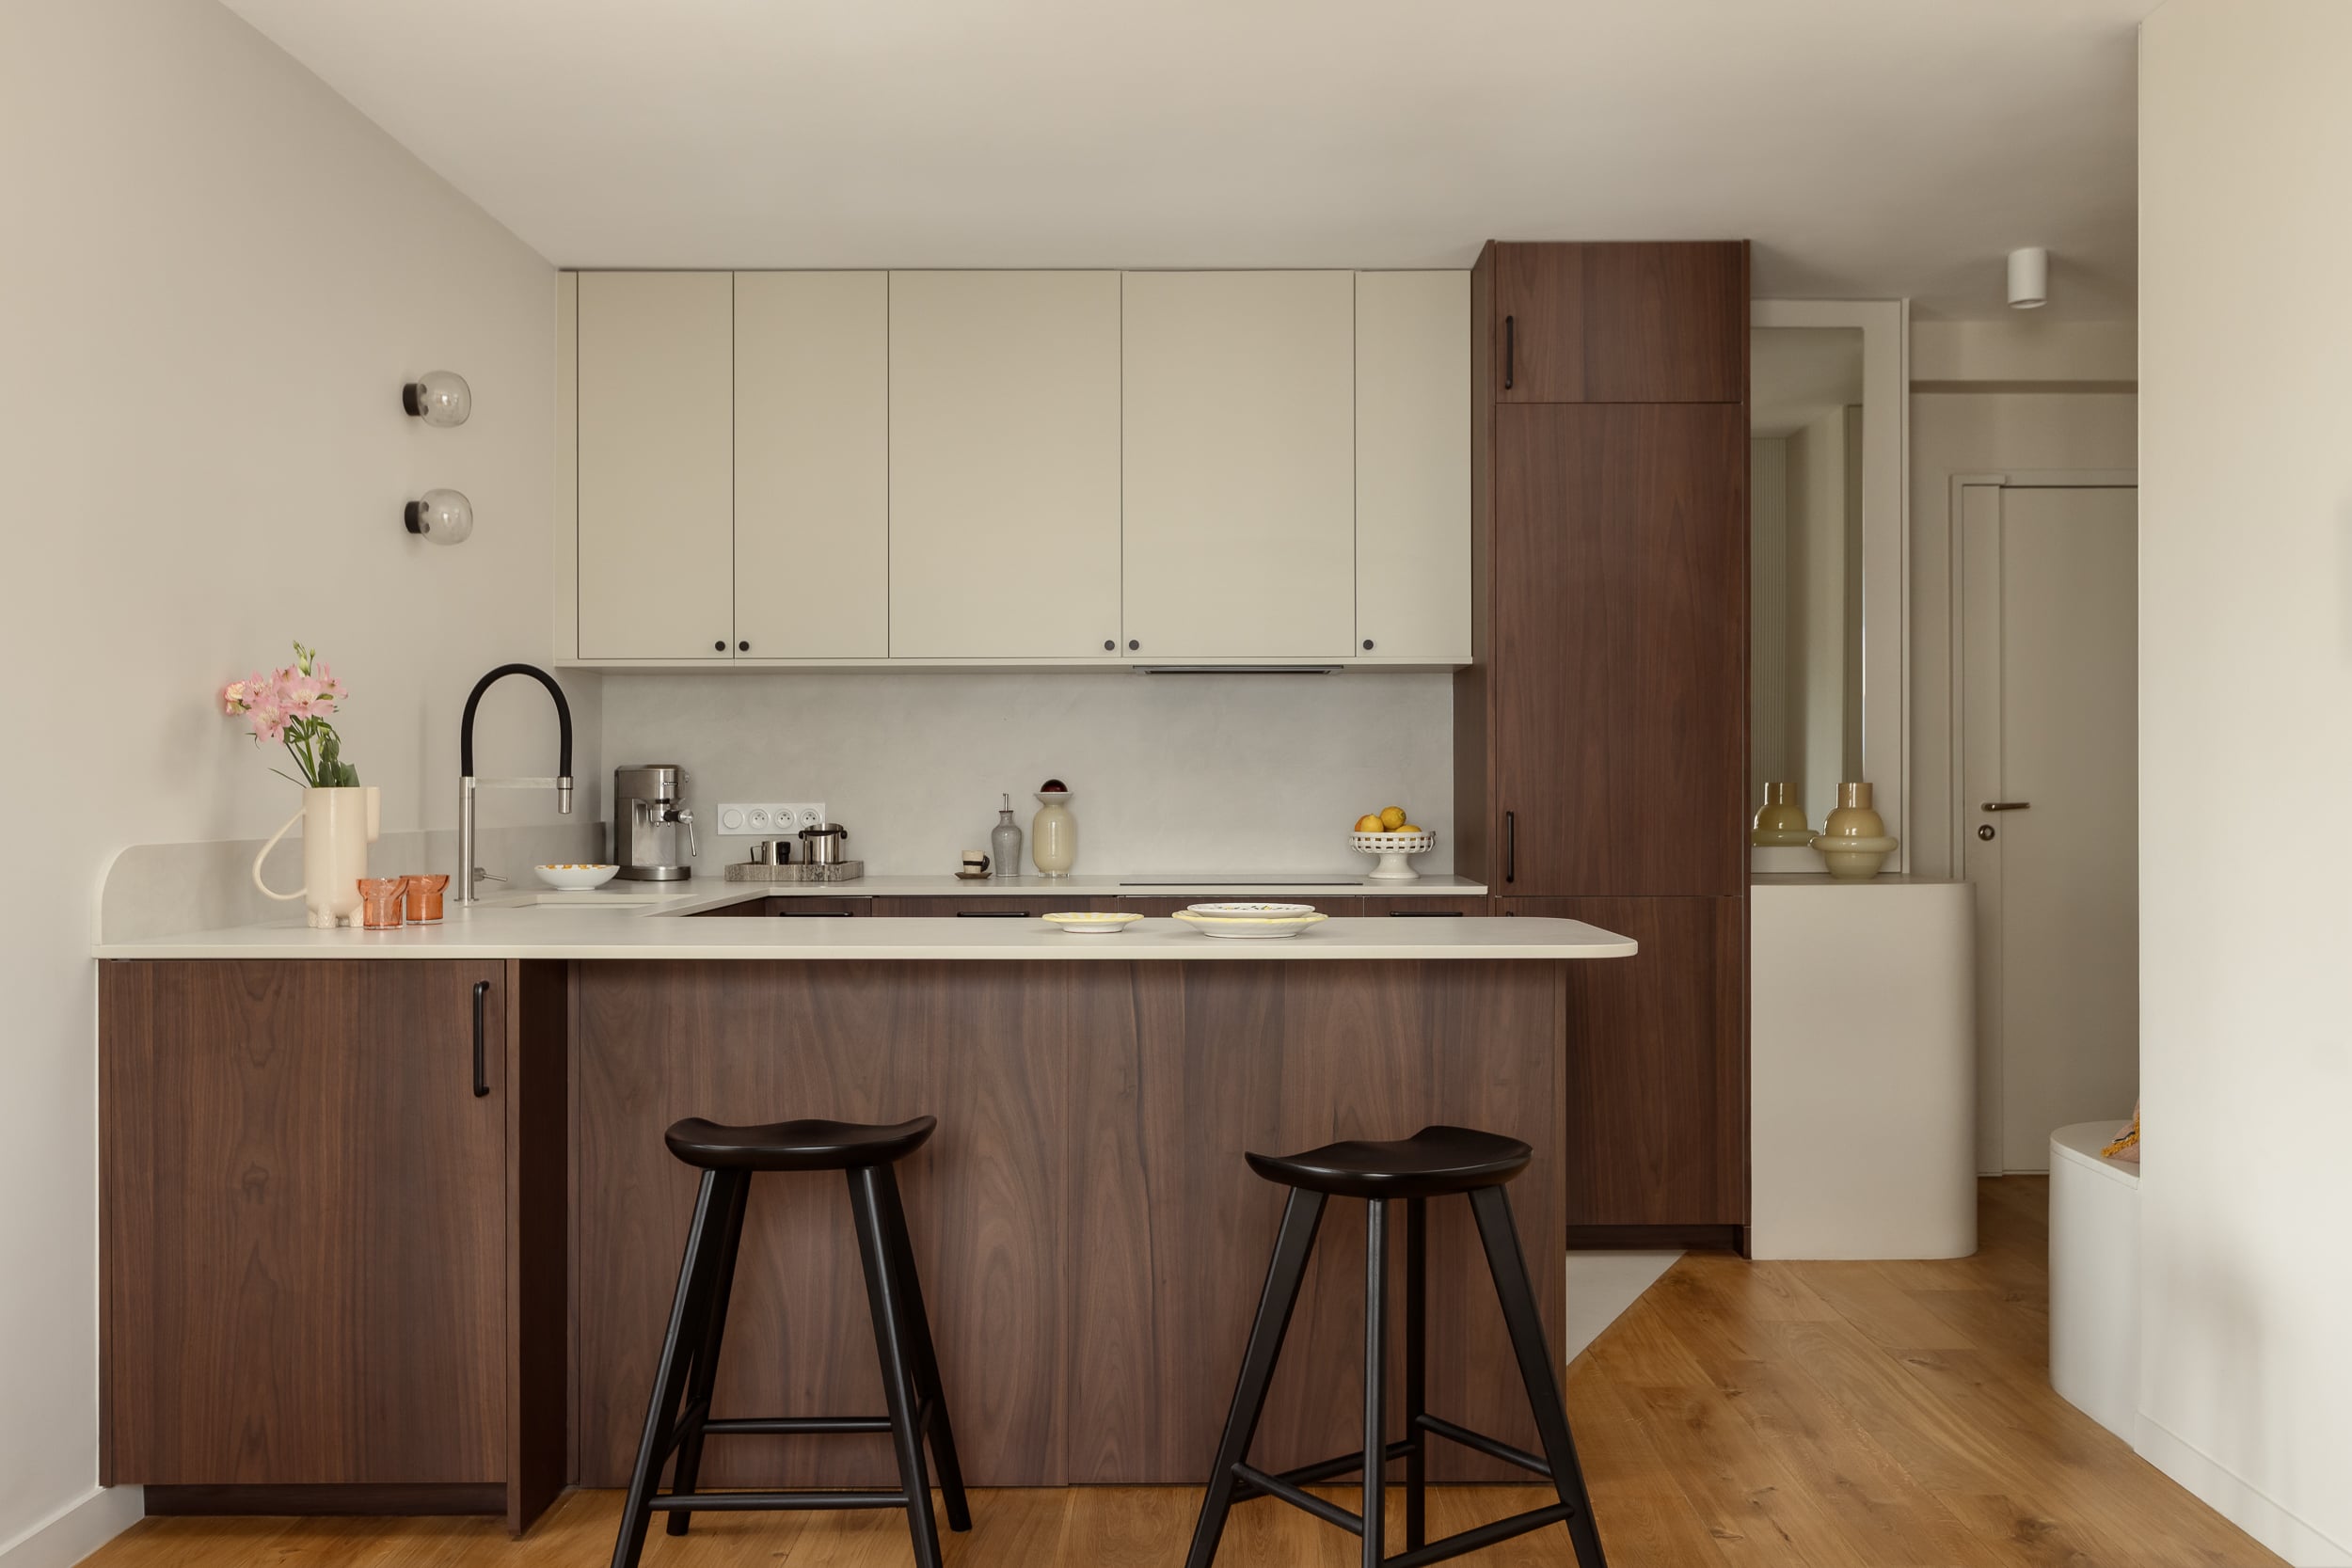
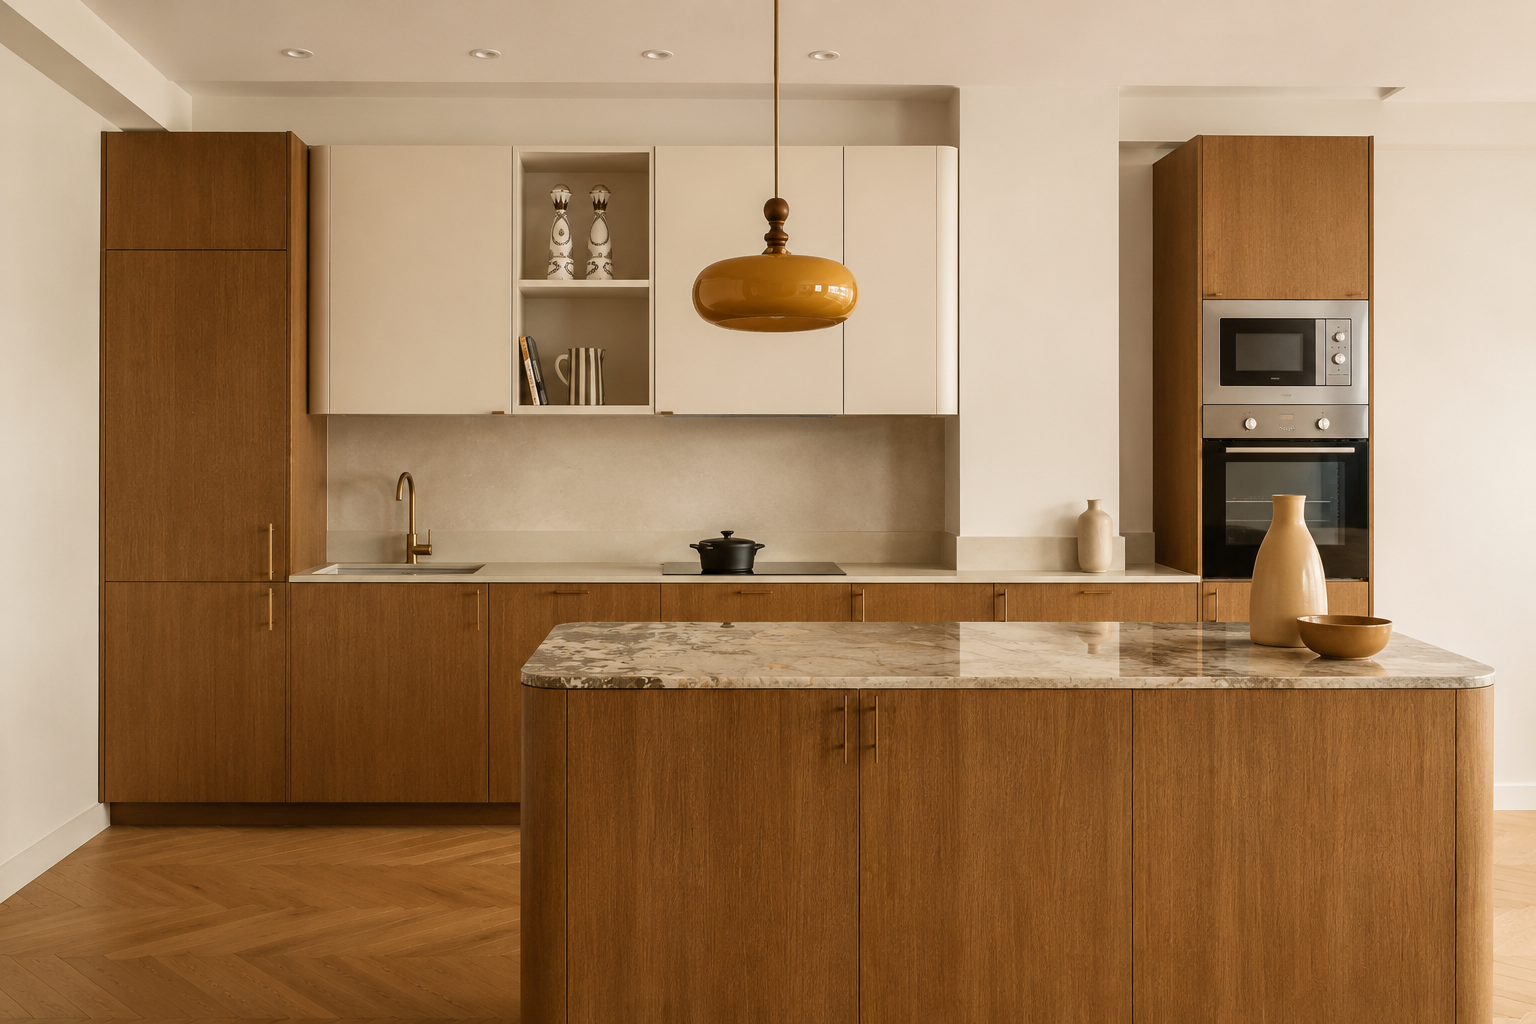
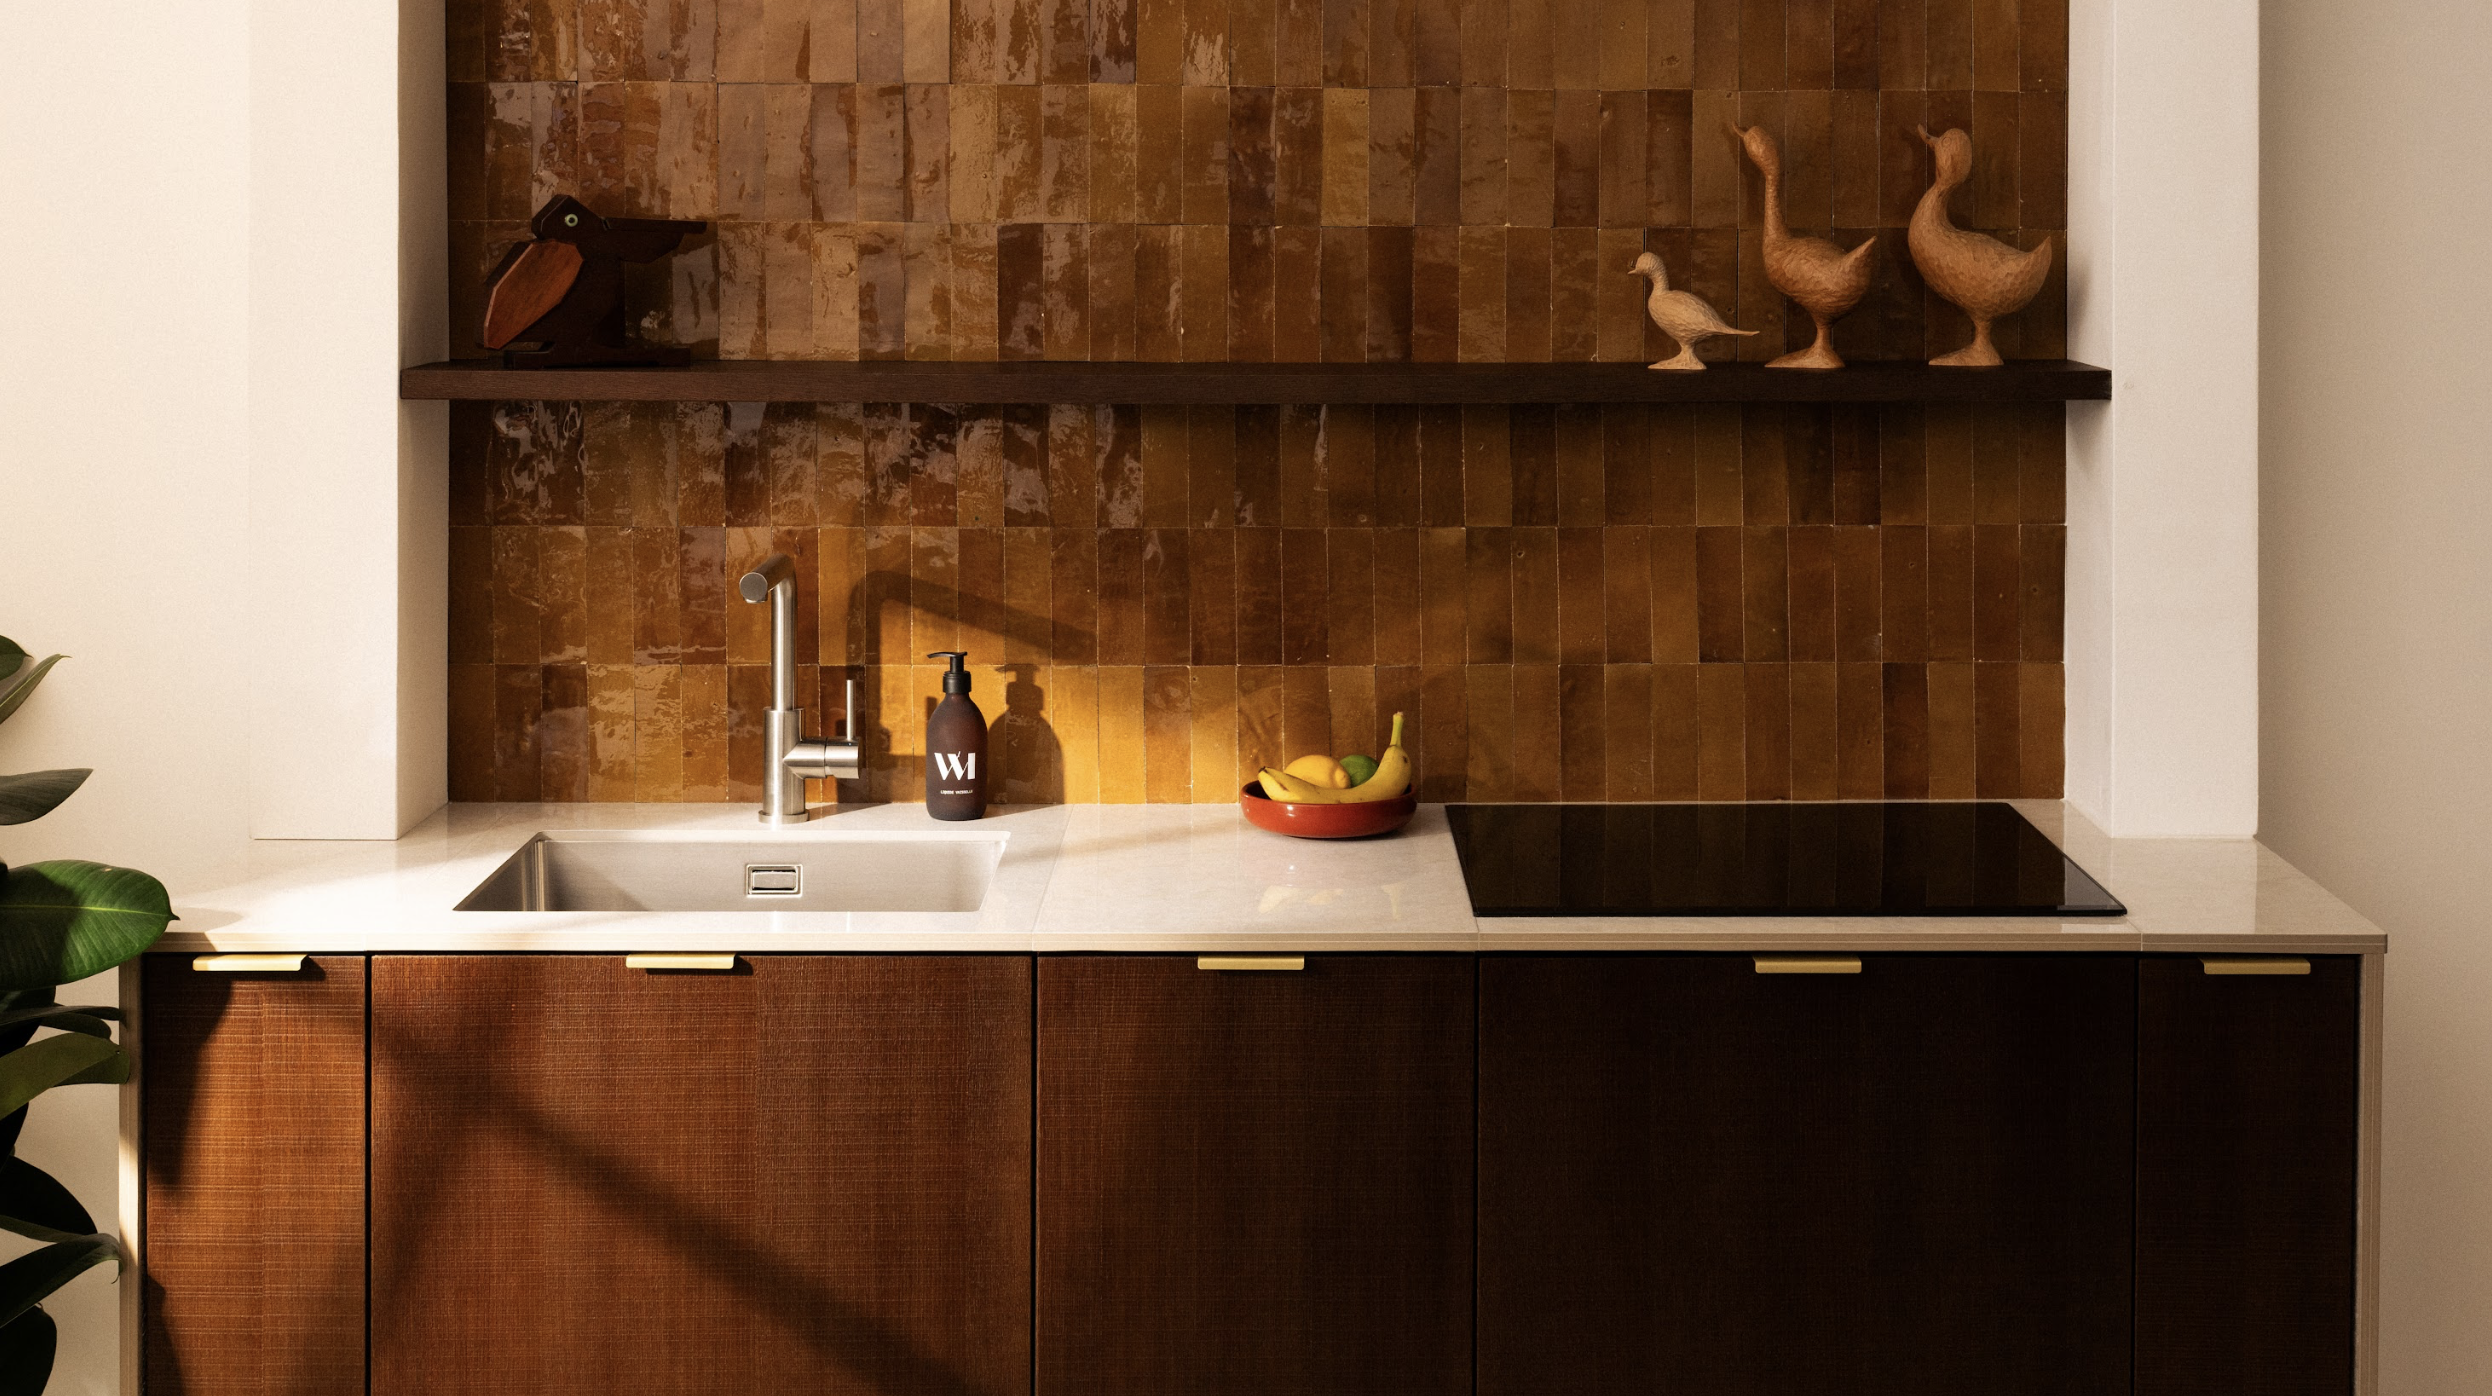
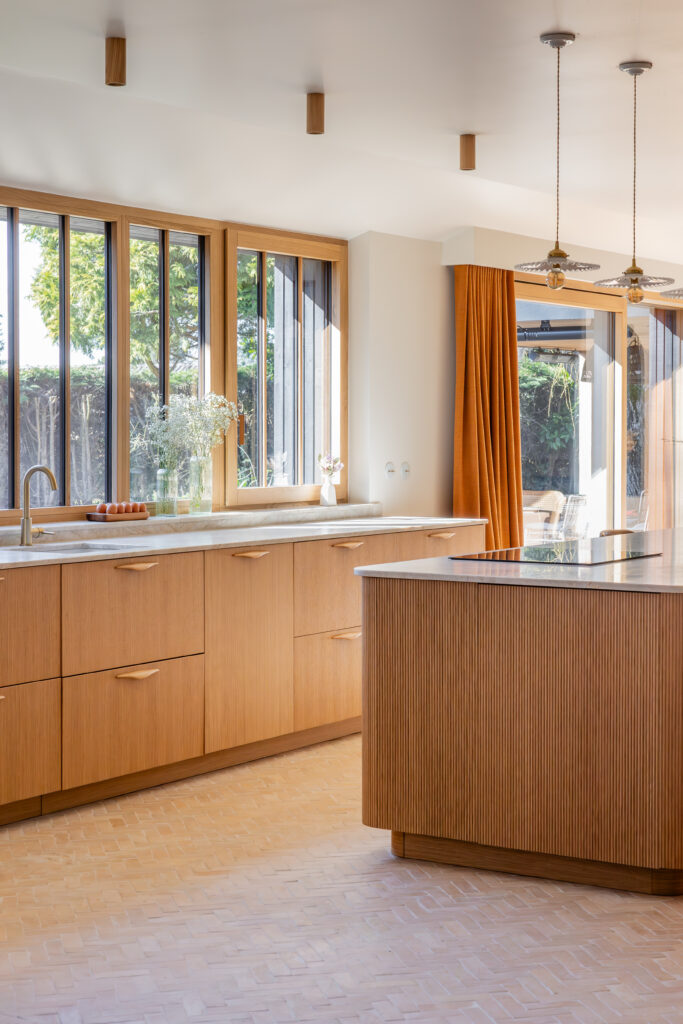
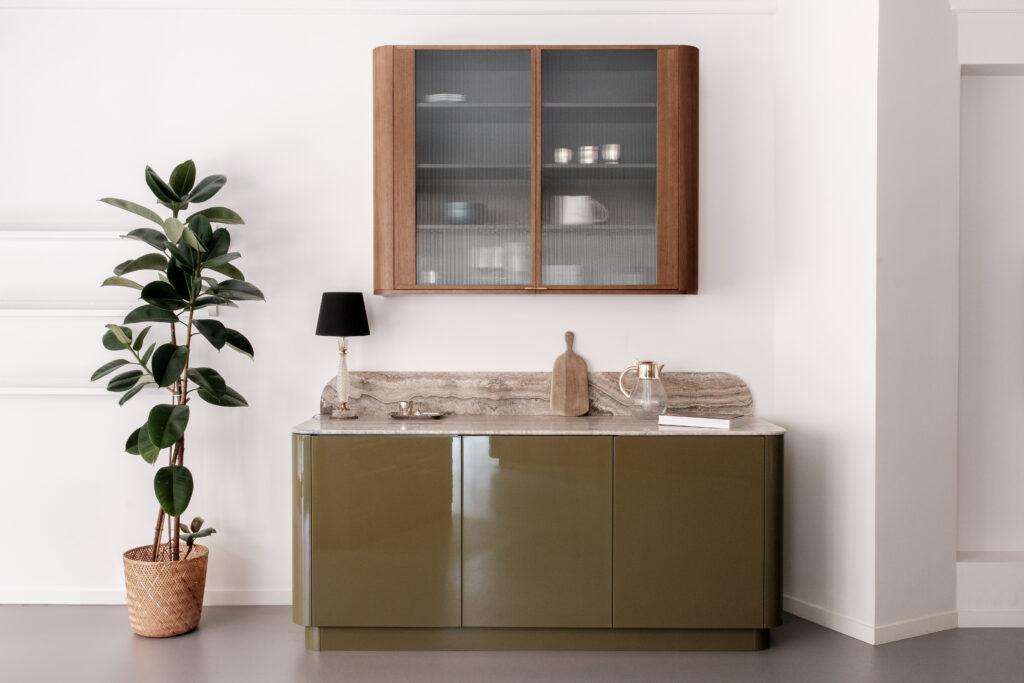
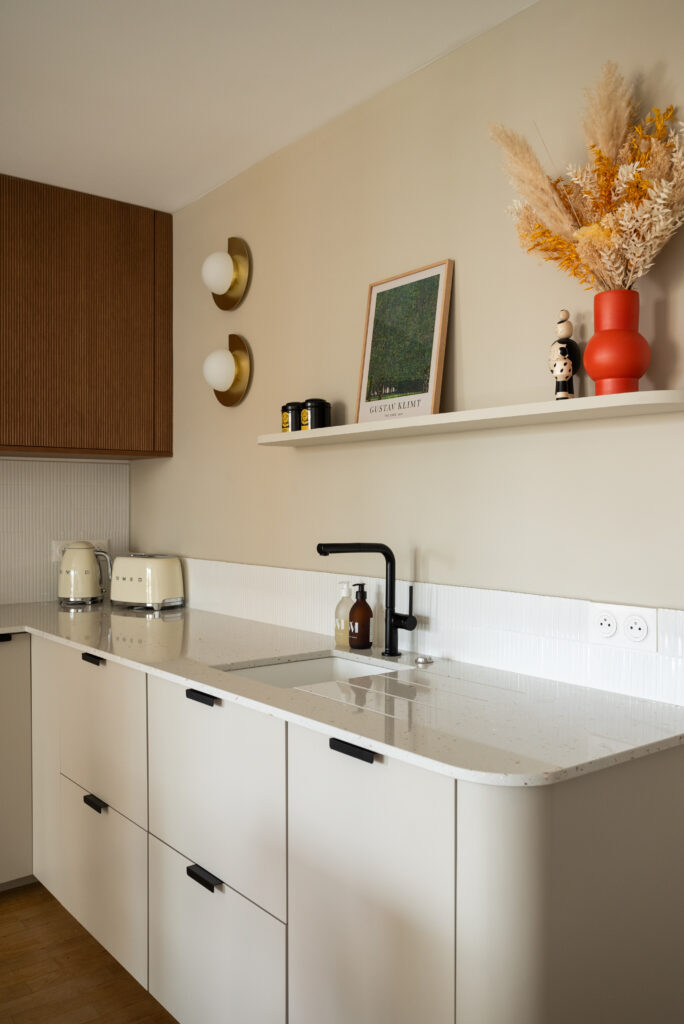
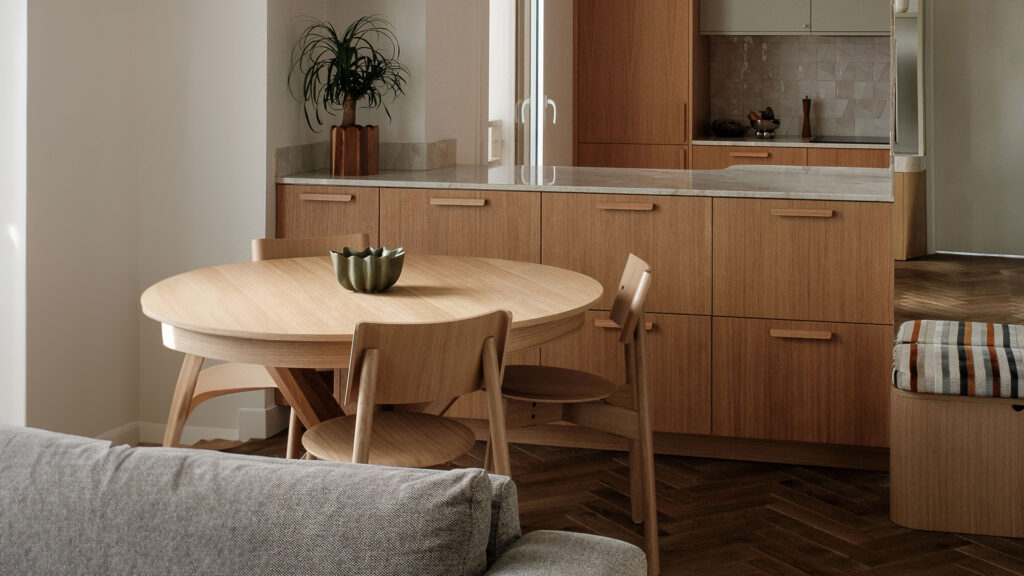
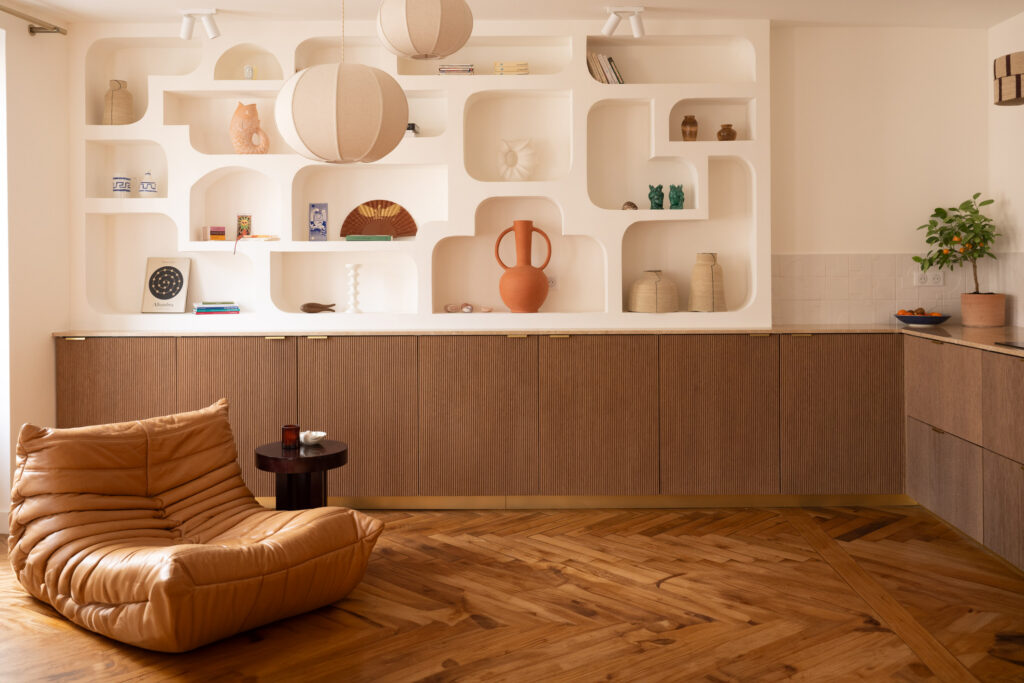
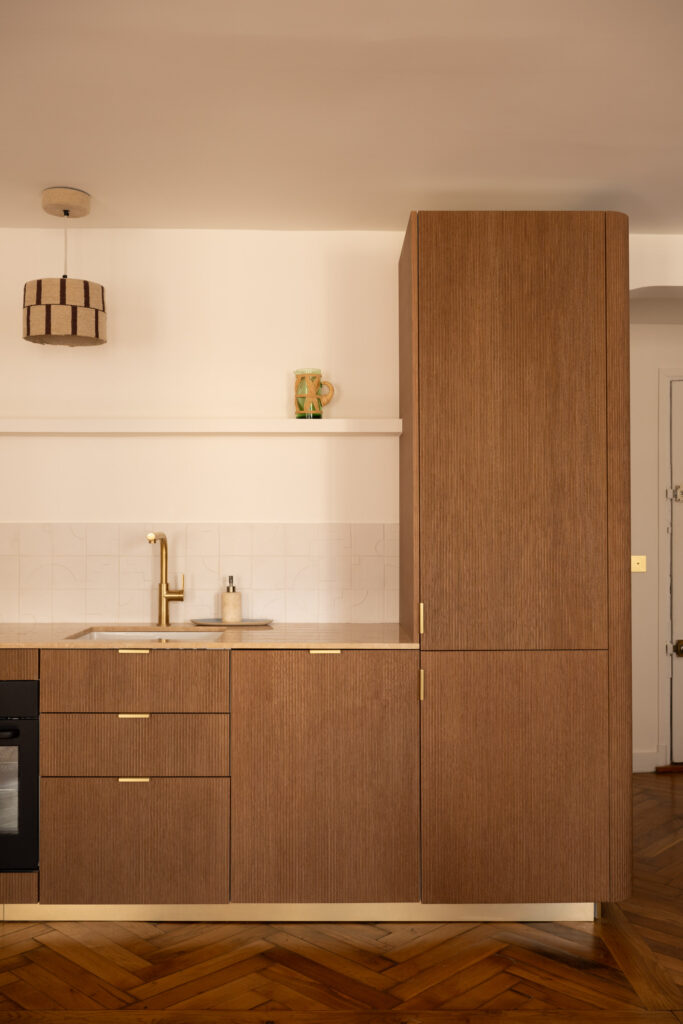
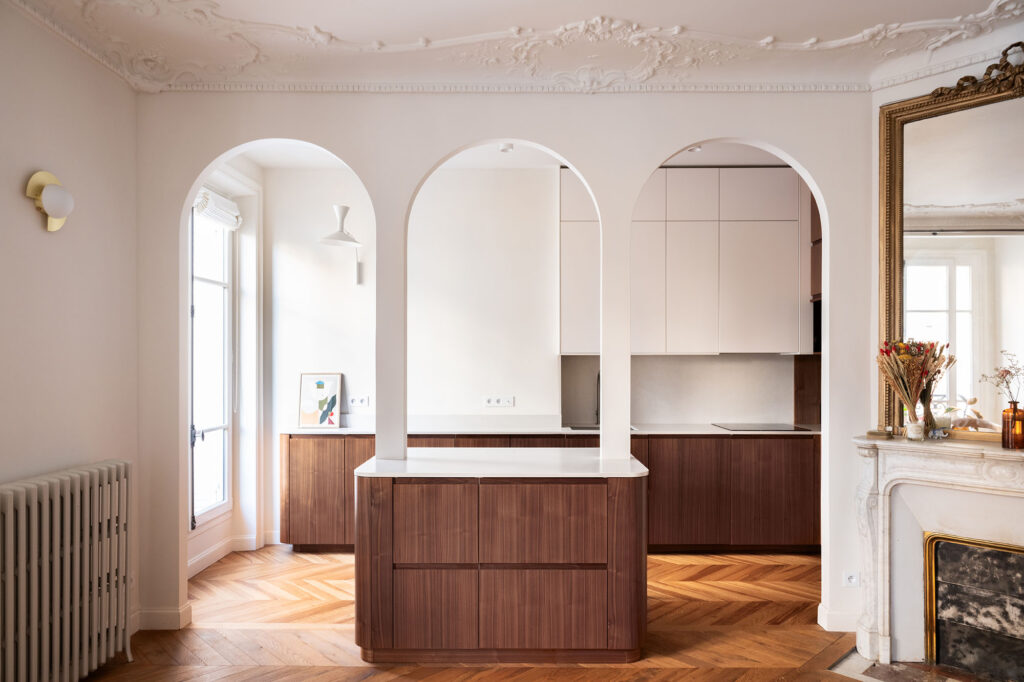
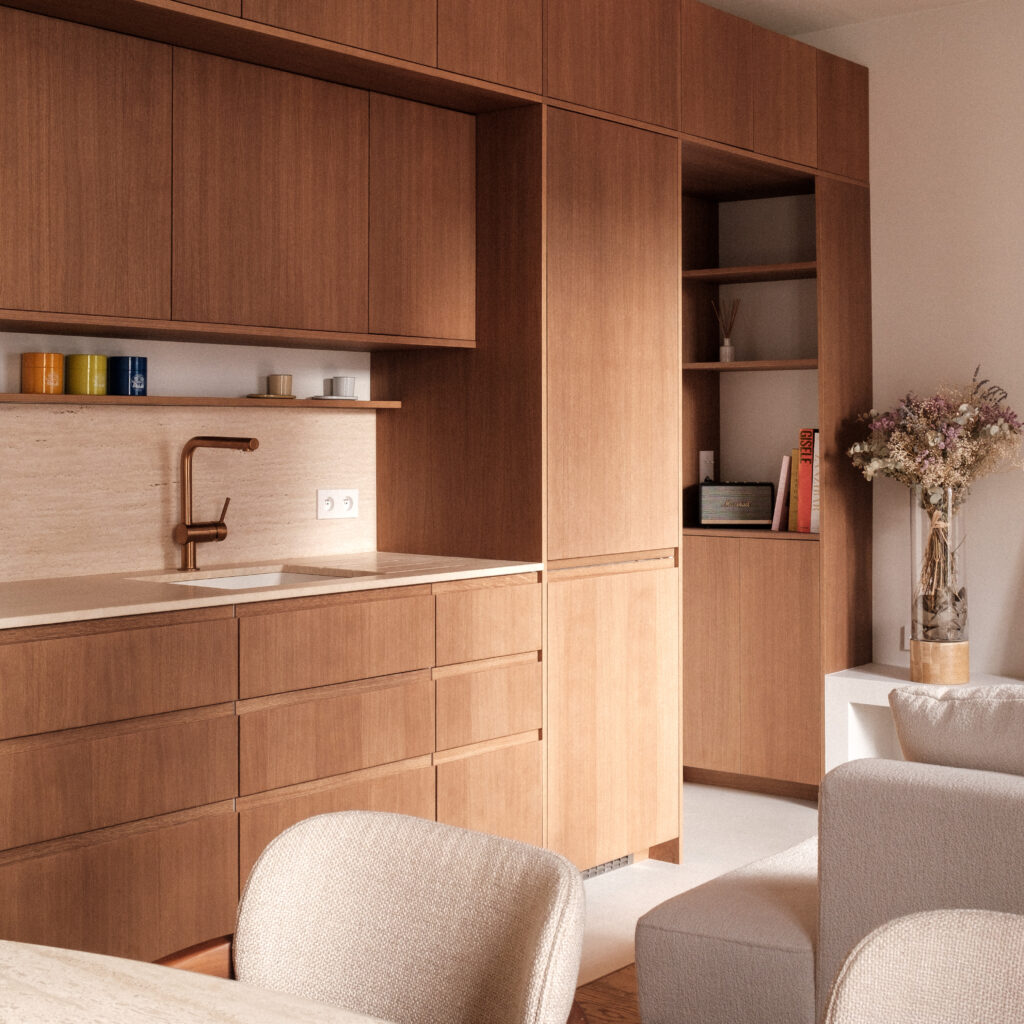
Conception cuisine IKEA avec façades Bocklip : une signature esthétique unique
Concevoir une cuisine IKEA, c’est bien. Lui apporter une identité forte grâce à nos façades, c’est encore mieux. Chez Bocklip, nous proposons des collections uniques et durables, qui transforment les meubles IKEA en véritables pièces de design.
Nos façades sont disponibles dans de nombreuses finitions : bois naturel, laque mate, couleurs profondes ou douces, et accessoires haut de gamme (joues, plinthes, poignées…).
Avec notre service de ikea conception cuisine, vous bénéficiez d’une cohérence esthétique totale, tout en maîtrisant votre budget.
Prêt à concevoir votre cuisine IKEA avec Bocklip ?
Contactez-nous pour démarrer votre projet de conception cuisine IKEA dès aujourd’hui. Nos experts vous accompagnent dans chaque étape, de la première idée jusqu’à la réalisation.
Faites de votre cuisine IKEA conception un espace à votre image, avec l’élégance et le savoir-faire Bocklip.
And don't forget one of the most important elements of your kitchen: you! To make moving around easier, leave at least 70 cm of space in front of your cabinets. 90 cm will allow you to easily get around an open cupboard or dishwasher. And if you like to cook with a partner, 120 cm will allow you to move around together without getting in each other's way.
Aerate, ventilate, breathe !
Good ventilation is important in the kitchen. The extractor hood often determines the height between the worktop and the wall units. It should be installed between 65 and 85 cm above the cooktop - to prevent our giant friends from hitting their heads. For islands, we recommend top-mounted hoods. Be careful, however, to allow for air outlets and space for the recirculation unit.
Nos conseils pratiques pour une cuisine IKEA bien pensée
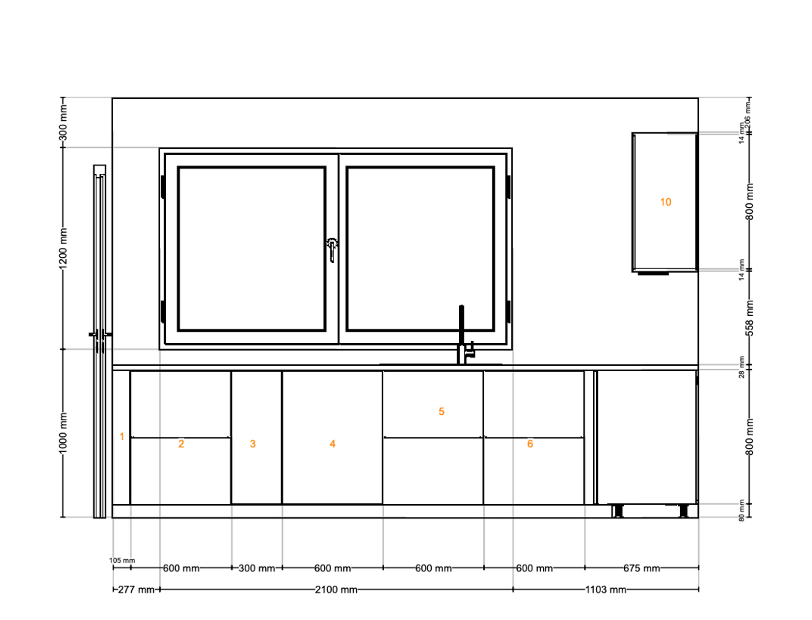
For base units, the worktop must be at waist height, so that you can reach the bottom of the sink without bending over. METOD pedestals allow a height of between 90 and 93 cm:
A METOD pedestal, 80 cm high
Legs + plinths, 8 cm high
A worktop thickness of between 2 cm and 3 cm.
For the oven and microwave, always place the oven below the microwave. To stay within standards, the sum of the front heights of the oven + microwave must be 1m.
For successful customization
Now that your kitchen has been expertly designed to be ergonomic and practical, it's time to customize it with Bocklip. Here are a few points to check before validating your shopping list.
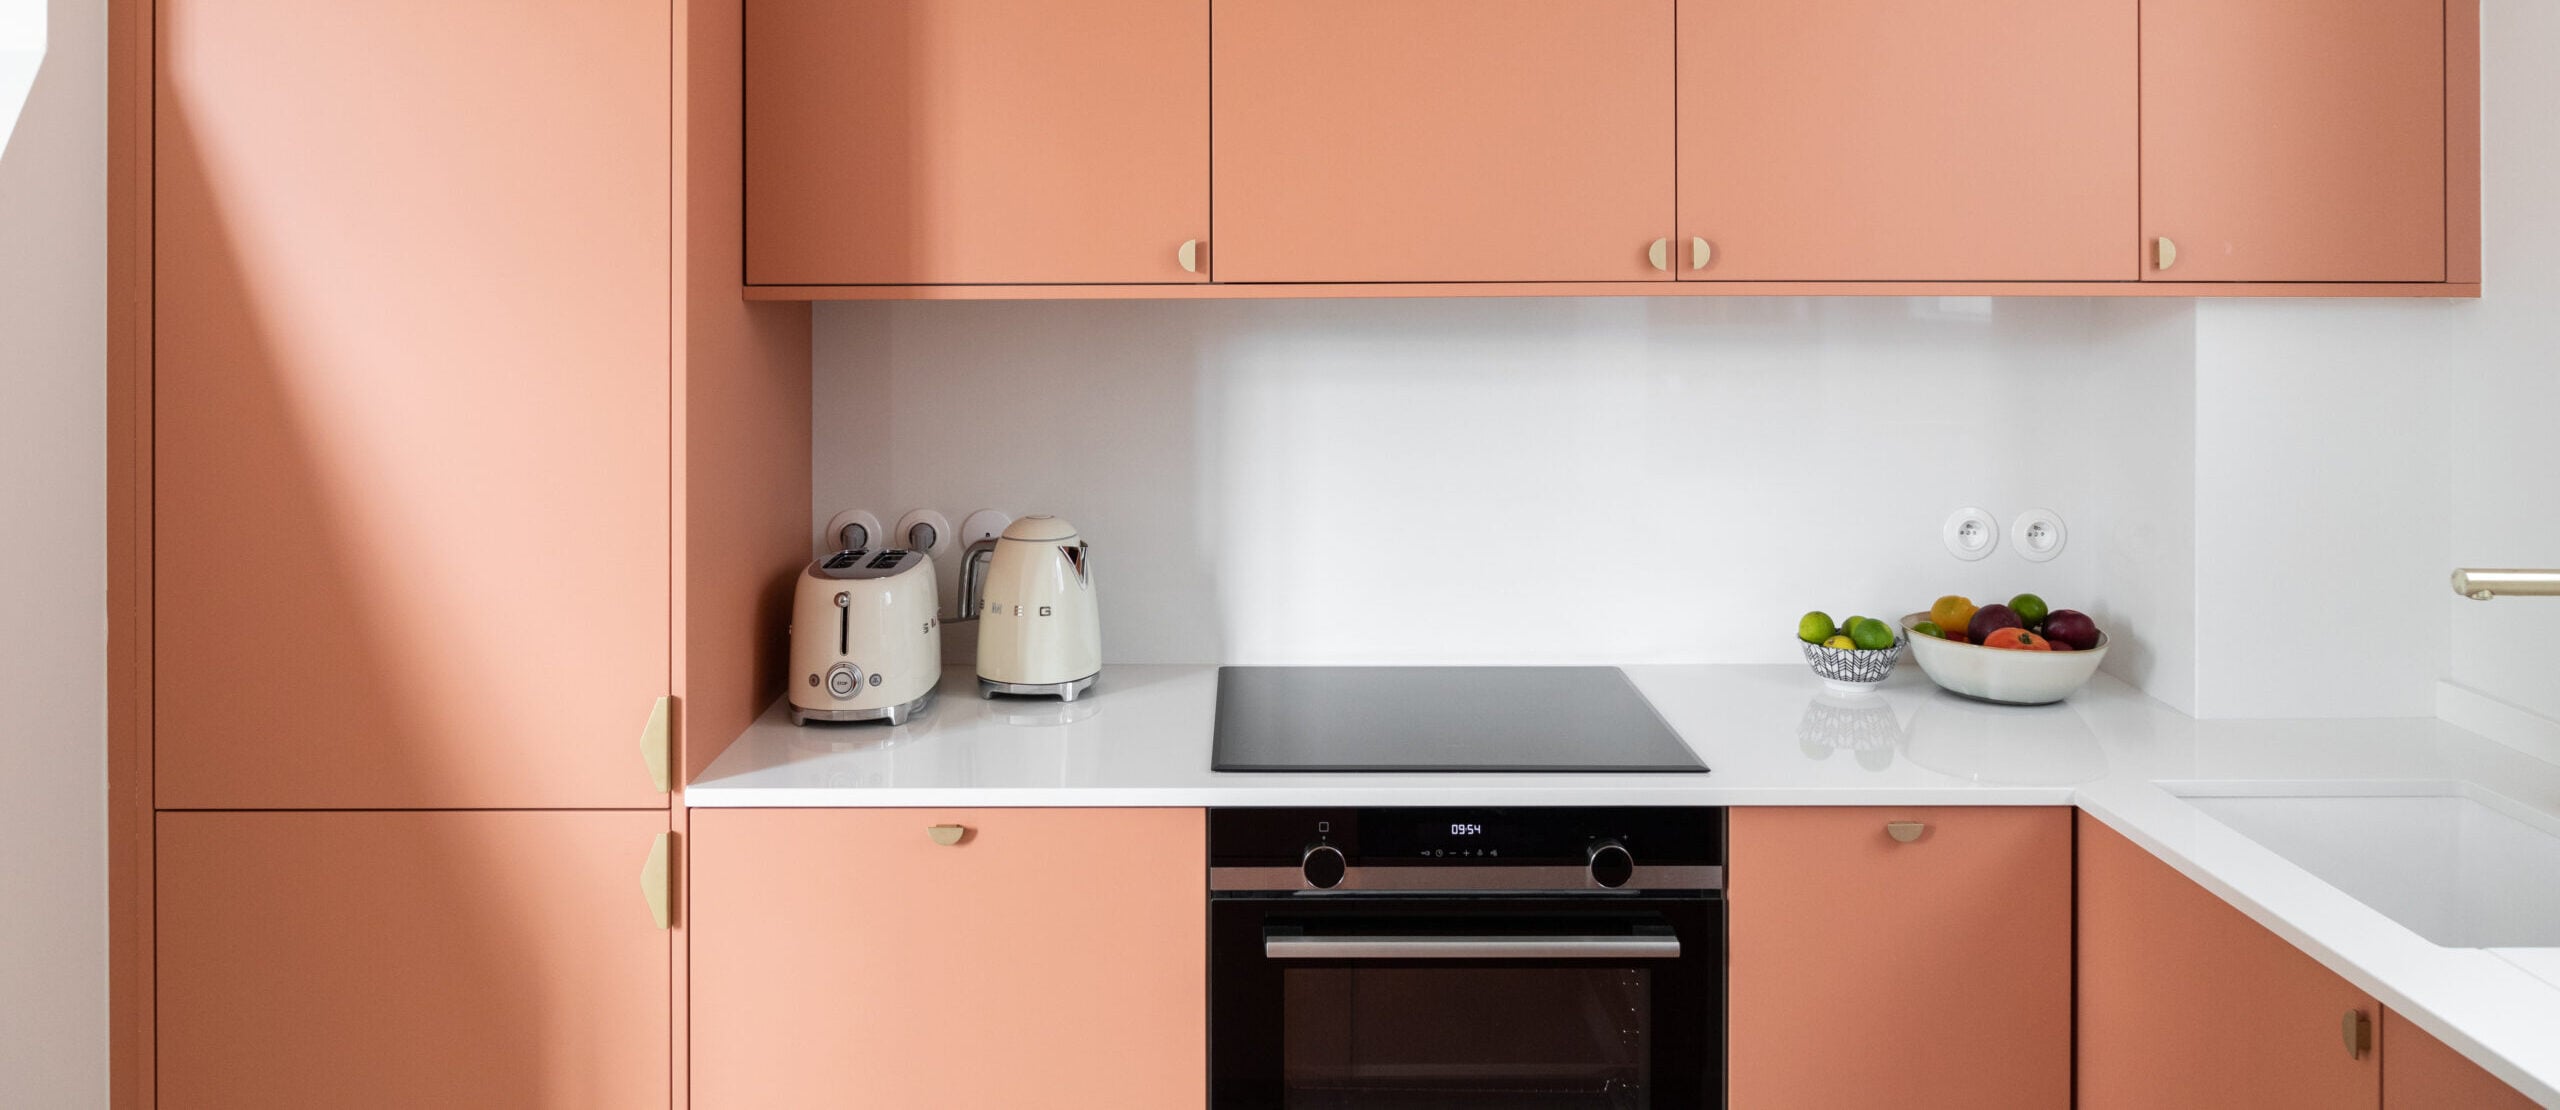
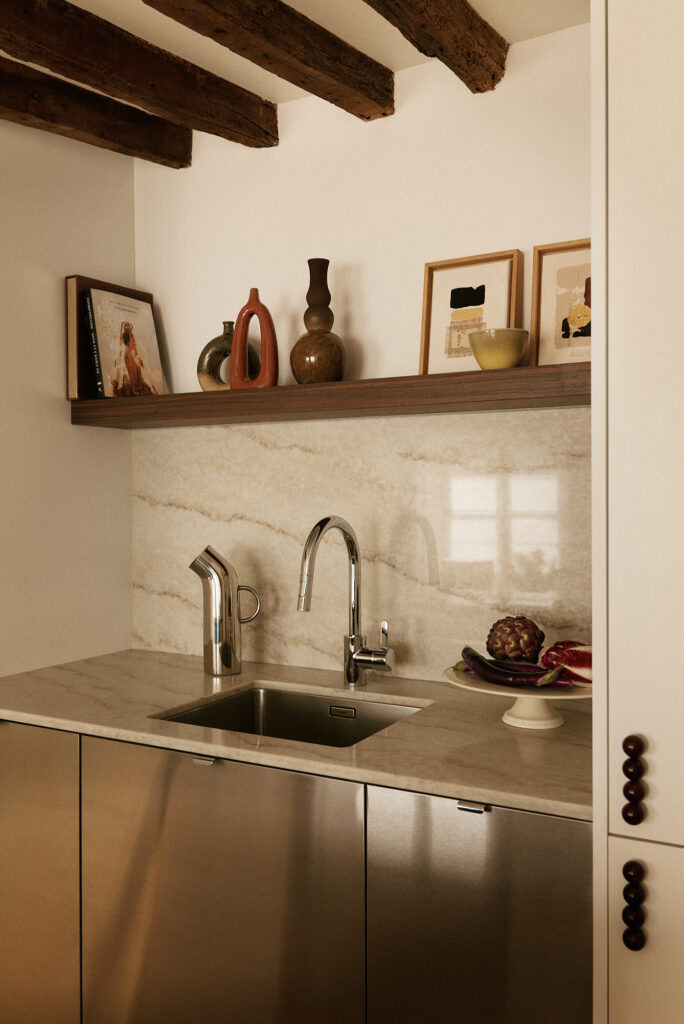
Coordinating colors
Notre collection Cuisine propose 7 formes et 7 matériaux pour d’infinies possibilités de personnalisation. Pensez à coordonner les couleurs. Si vous choisissez des façades Bocklip de couleur claire, achetez des caissons METOD blancs ; si vous optez pour des façades de couleur foncée, optez pour des caissons METOD foncés.
N’oubliez pas les charnières, les pieds et les poignées.
During the design phase with the IKEA kitchen planner, leave the fronts and skirting boards in place. This will give you a better idea of what your project will look like. Simply remove them from your shopping list at the last minute.
Please note, however, that this will also mean the removal of the Utrusta hinges and METOD feet you'll need to attach your favorite Bocklip fronts and skirting boards. Remember to put them back in your shopping basket before finalizing your purchases.
The finishing touch : threaders and finishing panels
You're almost there, your IKEA order is on its way and your Bocklip order is just two clicks away from completion. Don't forget the threaders and finishing panels, indispensable elements for dressing up the spaces and sides of your furniture, for a perfectly harmonious final result !
La conception d’une cuisine IKEA avec le Kitchen Planner est une solution efficace pour imaginer un aménagement qui vous ressemble. Que vous soyez au début de votre projet ou prêt à valider votre plan, cet outil gratuit vous aide à visualiser chaque détail. Pensez à bien sauvegarder vos configurations et à prendre rendez-vous avec un conseiller IKEA pour valider votre conception.